


Customizing Your Robust Tool Handle
If you’ve spent much time at the lathe, you know that just because a tool handle comes straight out of the factory looking great doesn’t mean it’s perfectly dialed in for your hands or specific turning style.
Whether you’re looking for a delicate touch on fine detail work or trying to make your setup easier to travel with, modifying your handle can completely transform your turning experience. Here is a step-by-step breakdown of how to customize, re-profile, and refinish your Robust tool handle.
Why Customize Your Modular Handles?
Before jumping onto the lathe, let’s discuss why modifying standard tool handles is worth the effort:
- Factory handles are often designed long to maximize leverage for heavy bowl turning. However, for a smaller tool like a 3/8" spindle gouge, a shorter handle lets you choke up, gives you finer control, and reduces awkward overhang.
- Shortening your handles—or leveraging the ER25 collet system to insert gouges backwards into the handle—makes packing your tools into a travel bag or suitcase effortless without puncturing gear or needing protective tape.
- Dyeing or painting handles based on collet sizes (e.g., black for 5/8", yellow for 1/2”) allows you to grab the exact tool size you need at a glance.
- Remounting the handle allows you to flush up the transition between the wood and metal ferrule, remove uncomfortable ridges, or slim down the grip diameter to fit your hand.
Maintenance Tip: Preventing Stuck Collets
Before mounting your handle on the lathe, keep this essential maintenance tip in mind:
Over time, fine wood dust and chips pack into the ER25 collet, causing it to bind. Never apply grease or oil to the threads—liquid lubricants attract dust like a magnet and cause severe jamming.
- To release a stuck tool simply loosen the nut a quarter turn, then give the handle or tool a light tap on your lathe bed or workbench to unseat the collet cone.
- To clean, wipe the threads dry and blow out the internal dust with compressed air.
Step 1: Mounting the Handle on the Lathe
To ensure the wood turned handle stays aligned with the tool axis, do not chuck the handle body directly.
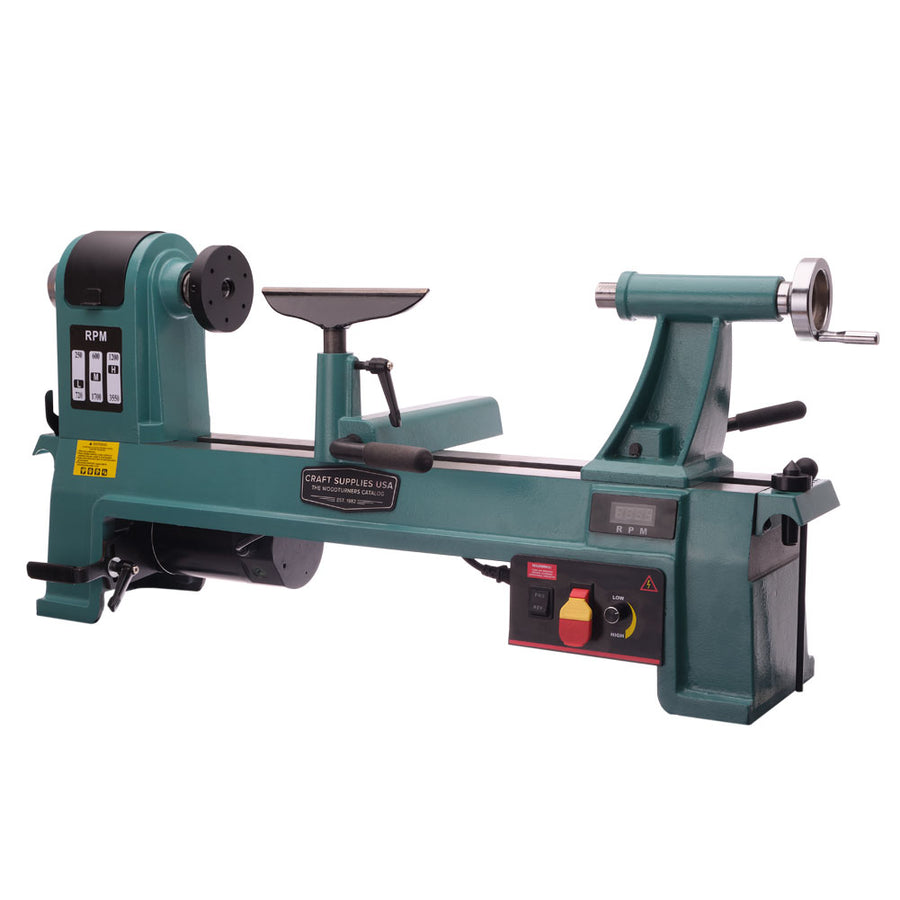
- Install a collet chuck into your lathe’s headstock.
- Insert the actual tool shank (e.g., a 3/8” spindle gouge) securely inside the tool handle.

- Mount the exposed tool shank into your headstock collet chuck and tighten it securely.
- Bring up your tailstock with a live center to support the base end of the handle.

- Rotate by hand to ensure the handle runs true.
Step 2: Reshaping and Shortening
- Position your tool rest slightly above center line. Wear proper eye and respiratory protection.
- Use a sharp skew chisel or small gouge to flush down the wood shoulder where it meets the metal ferrule, eliminating any sharp edges or misalignments.

- Reduce the diameter of the handle to your personal comfort level. Use your off-hand behind the wood as steadying support if you encounter chatter.
- Take off 2” to 2-1/2” from the bottom of the handle for fine-detail gouges. Make a series of V-cuts with your skew near the tailstock to carve a gentle radius at the base. Leave a small flat stub on the end for tailstock support during initial sanding.

Step 3: Cleaning Up the Base End
- Carefully slice through the small remaining waist with your skew chisel.

- To flatten the back end perfectly flush without whipping, mount a drill chuck holding a disc holder with a sanding disc directly into your tailstock arbor. Lightly advance the tailstock against the base while the lathe runs to flatten the bottom.

Step 4: Grain Raising & Fine Sanding
To achieve a silk-smooth feel, eliminate radial scratches before applying any liquid finish:
- Sand sequentially through 180, 220, and 320 grit sandpaper. Optionally, wrap the metal ferrule with masking tape to keep dark metal dust from discoloring light woods like maple.
- Wipe the bare wood down with denatured alcohol. This cleans off dust and pops the wood grain (raising the loose surface fibers). Alcohol evaporates in seconds compared to water.
- Turn the lathe on low and knock back those raised fibers using a 1,500-grit non-woven abrasive pad (like Scotch-Brite).
- Reverse lathe rotation and repeat the pad buffing. Reversing pulls up laydown fibers so they can be sheared off completely.
Step 5: Applying a Close-to-the-Wood Finish
While heavy spray lacquer is durable, a penetrating oil finish offers a warmer, textured feel that won’t feel slick in a sweaty palm. Watco Danish Oil (Natural) is ideal because thinners and dryers accelerate cure times while preserving the natural maple grain.
- Apply a heavy coat of Danish oil using a clean rag until the surface stays wet. Allow 15 minutes for the wood fibers to absorb it.

- Re-apply a second lighter coat to dry or matte spots.
- Remove the handle and set it upright overnight (8–10 hours). Always dispose of or hang oil-soaked rags flat outside to eliminate spontaneous combustion risks!
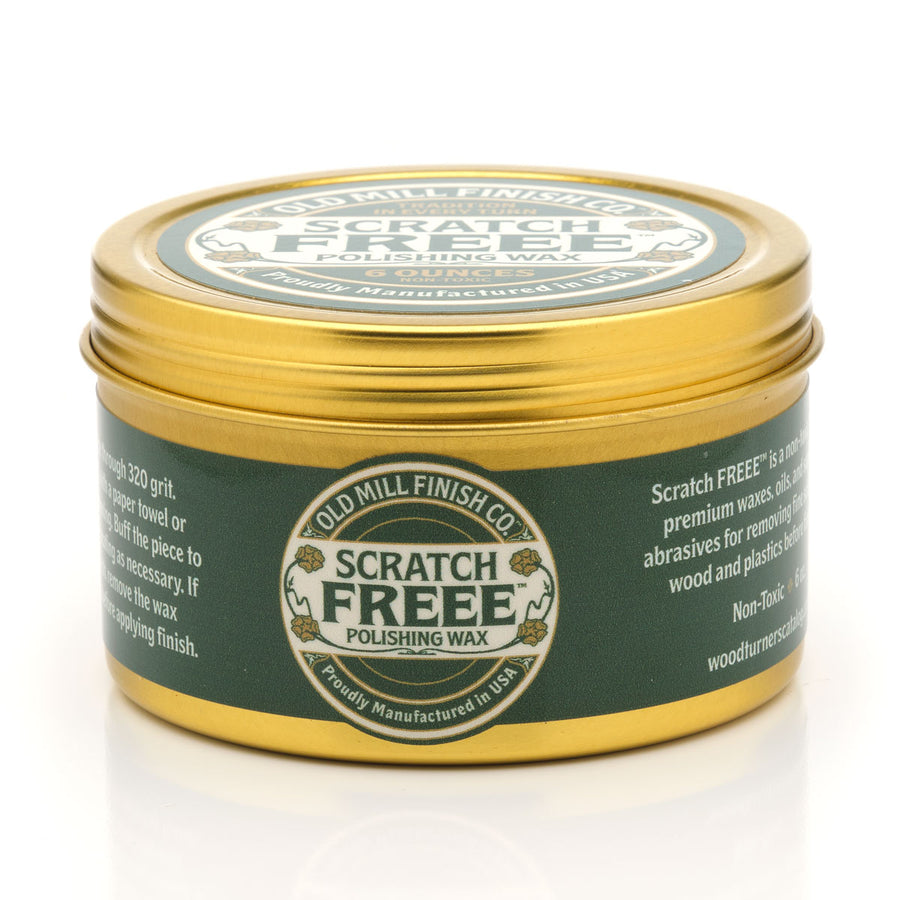
- Once cured, apply a thin layer of quality paste wax. Allow it to haze over for a minute, then buff to a satin sheen with a clean cotton rag.
Ready to Turn
Once remounted with your collet system, your customized tool handle will feel lighter, fit your grip naturally, and allow you to work much closer to the detail cuts on your projects.

Have you modified your tool handles or tried color-coding your collet system? Leave your tips and suggestions in the comments below!
Featured posts