Turning a Cake Stand with a Glass Dome
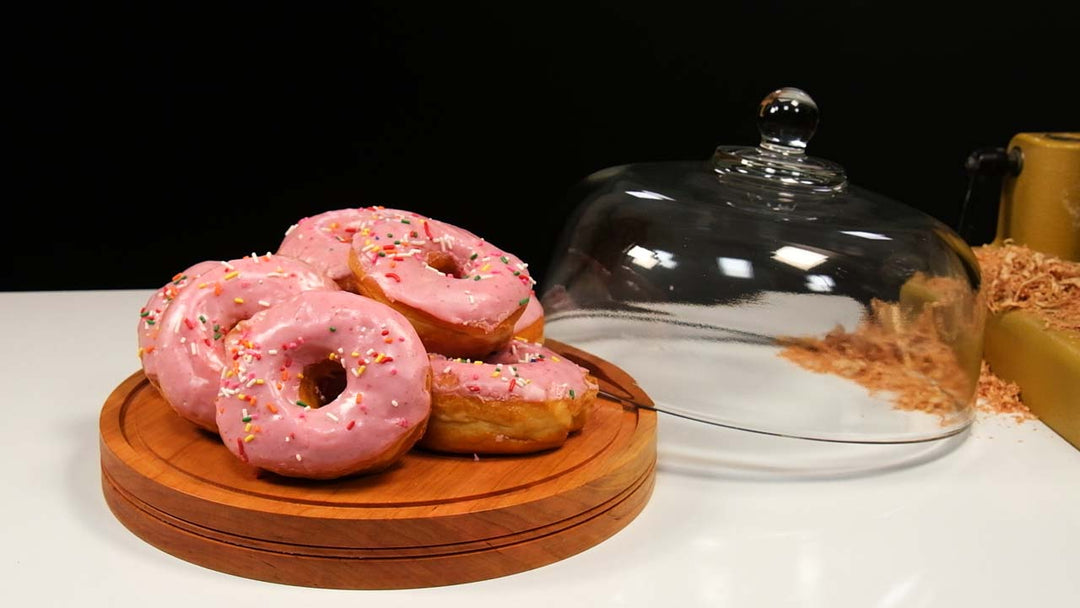
Who doesn’t love a beautiful cake stand? Not only are they fantastic for displaying your culinary creations, but they also make for a delightful woodworking project. Mike walks you through turning a stunning cake stand with a glass dome, a piece that’s both functional and decorative. It’s an easy and fun project that doesn’t require a ton of specialized tools or materials.
Diagram with Dimensions
Here is a PDF diagram you can download with the dimensions of Mike’s stand.
Understanding the Design
Before diving into the turning process, it’s helpful to understand the basic design principles Mike uses:
-
Flat Surface: A nice, flat top provides the perfect platform for cakes, cupcakes, donuts, or whatever delicious treats you want to display.
-
Recessed Channel: A small, recessed channel is cut into the top surface, perfectly sized for the glass dome to sit securely.
-
Decorative Elements: The stand features a decorative bead on the top and a nice radius and a couple of beads on the underside, adding a touch of elegance.
-
Recess for the Foot: The underside also includes a recess for the foot. This is a smart design choice because it allows you to re-chuck the piece if you need to true up the foot later (in case of warping) or refinish the underside.
- Stable Base: The rim is about 1" to 1-1/4" wide, ensuring a stable base. You can even add rubber feet to prevent sliding.
Material Selection and Preparation
For this project, Mike uses a 13" round piece of cherry that’s roughly 2" thick. Cherry is a fantastic choice due to its beautiful color and how easy it is to work with.
Key considerations for material:
-
Minimum Size: The exterior dimensions of the glass dome are 11-1/4" so you’ll want to turn a piece that’s at least 11-3/4" to 12" in diameter.
-
Dryness: The wood should be as dry as possible, ideally less than 8% moisture content. Kiln-dried material is best to prevent warping and movement after turning.
- Preparation: Center mark and pre-drill the piece for your screw center chuck.
Turning the Underside (Foot and Decorative Elements)
Mike starts by mounting the cherry blank on a 3-in-1 screw chuck. He uses an 1/8” shim to ensure only 3/8” of the screw protrudes, preserving the thickness of the piece.
Steps for the underside:
-
True Up the Piece: Start the lathe at about 700 RPM and use a bowl gouge to true up the piece, removing minimal material to maintain its size. Keep your tail stock engaged for support.
-
Scrape the Backside: Increase the speed to about 950 RPM and gently scrape the backside to true it up.
-
Lay Out Measurements: Mark out the rim dimensions (about 1” to 1-1/8“ wide) and any decorative bead placements.
-
Cut the Recess for the Chuck: Using a bowl gouge, cut a recess about 1/2” deep and 2-1/2” in diameter for your chuck jaws. Mike refines this with a negative rake scraper for a flat surface and to match the chuck’s tenon profile.
-
Shape the Decorative Band and Beads: Using a smaller 3/8” bowl gouge, create a slightly convex curve for the decorative band. Then, use an Easy Wood beading tool to establish crisp beads, refining the edges with a skew.
- Concave the Foot: Slightly concave the area underneath the rim to ensure the exterior of the rim engages nicely with your table surface.
Sanding and Finishing the Underside
Once the turning is complete on the underside, it’s time for sanding and initial finishing.
-
Power Sanding: Remove the tool rest and use a 2” disc holder for power sanding. Start with 220-grit sandpaper, keeping the lathe speed around 400-500 RPM. Sand in both forward and reverse directions.
-
Hand Sanding: Hand sand the beads and other detailed areas that the power sander can’t reach, using 240-grit and then 320-grit sandpaper to avoid deforming the bead shape.
-
Wet Sanding with Denatured Alcohol: Saturate the wood fibers with denatured alcohol and then wet sand with 600-grit Abranet sandpaper. This swells the fibers and helps prevent fuzziness when the piece is exposed to moisture later.
-
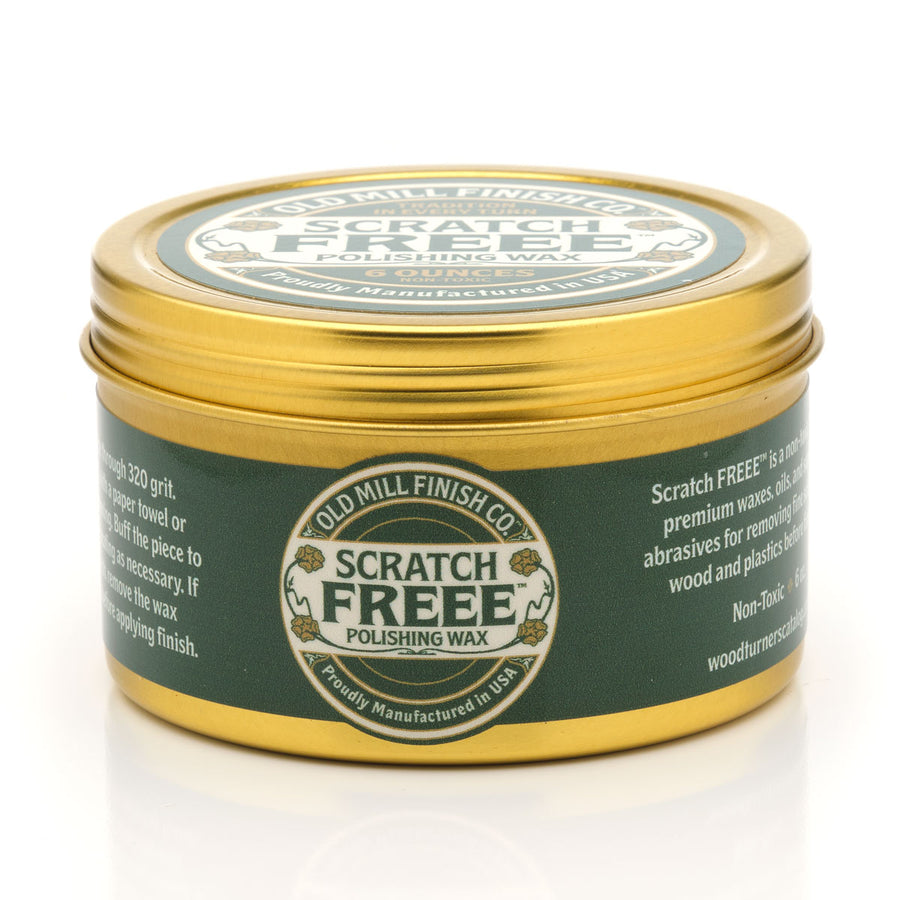
Polish with Scratch Free: Apply an abrasive paste like Scratch Freee to refine the surface, polishing at a higher speed (around 1200 RPM). This enhances the natural color of the cherry.
- First Coat of Finish: Apply a food-safe finish like Tried and True Original by hand while the piece is still on the lathe. Buff it in to ensure good penetration.
Turning the Face (Top Surface and Glass Channel)
Now, it’s time to flip the piece and work on the top.
-
Mount on Four-Jaw Chuck: Remove the screw chuck and mount the piece on a four-jaw chuck, expanding the jaws into the recess you cut earlier.
-
True Up the Face: Bring up the tailstock for initial support and use a 5/8” bowl gouge to true up the face, removing the drilled hole from the screw chuck. Aim for a relatively flat surface.
-
Refine the Surface: Use shear scraping techniques with your gouge and skew to achieve a very flat and clean surface. This is crucial for a glossy finish, as any imperfections will be highlighted.
-
Lay Out the Glass Channel: Measure your glass dome (11-1/4” outside diameter) and use a parting tool to mark out the channel. Start with a shallow channel (about 1/16” thick) and test fit the dome.
-
Deepen the Channel: Once the fit is perfect, deepen the channel to about 1/4” deep. This provides a secure seat for the dome without being so deep that frosting and food get stuck.
- Decorative Bead on Rim: Mike adds a single decorative bead right in the center of the rim using the Easy Wood Tools Beading Cutter.
Sanding and Finishing the Face
The process for sanding and finishing the face is similar to the underside.
-
Sanding: Start with 320-grit sandpaper (since the shear scraping provided a clean cut) and work your way up. Power sand the flat areas and hand sand the beads and channel.
-
Wet Sanding: Wet sand the face with denatured alcohol and 600-grit sandpaper.
-
Polishing: Apply Scratch Freee to further refine the surface.
- Final Finish: Apply a second coat of the food-safe finish, buffing it in by hand. Let this coat cure for 24 hours.
Final Touches
After the finish has cured, apply a layer of food-safe wax (like GOAT Wax) to the entire piece. This provides an extra layer of protection, helping to prevent food and water from sticking and keeping the piece looking its best longer. If giving as a gift, include a small tin of wax so the recipient can reapply it for long-term maintenance.
The result is a beautiful, functional, and durable cake stand with a glass dome—a true mark of craftsmanship that stands out from mass-produced alternatives.
