


Turning a Honey Dipper
This simple yet functional woodturning project is easy to turn and is also easy on the budget. A simple idea that can be turned from any one of the scraps you know you have lying around the shop.
Turning the Honey Dipper
Select a 2″ x 6″ blank and mount on the lathe between centers with a 4-prong drive center in the headstock and a revolving center in the tailstock. Turn the blank to round using a Roughing Gouge.
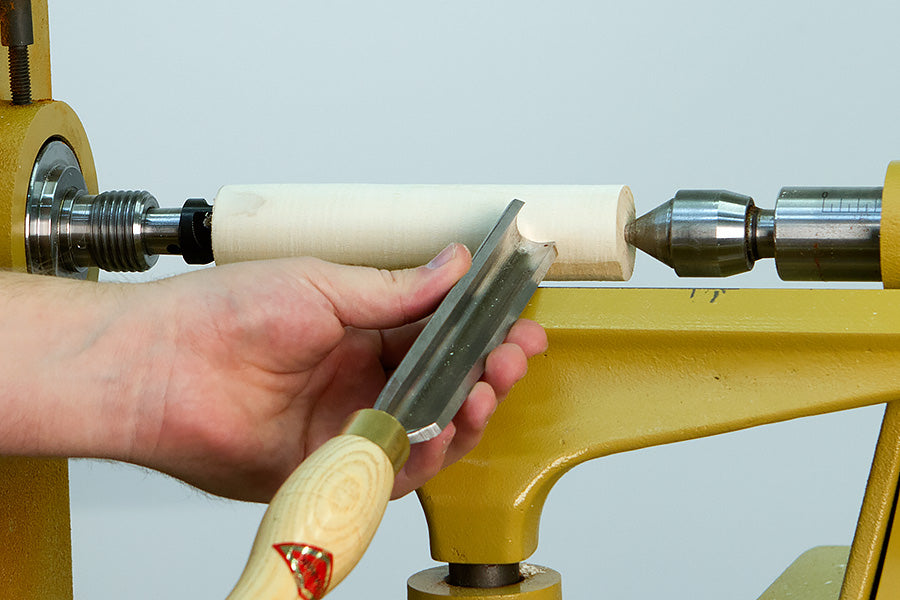
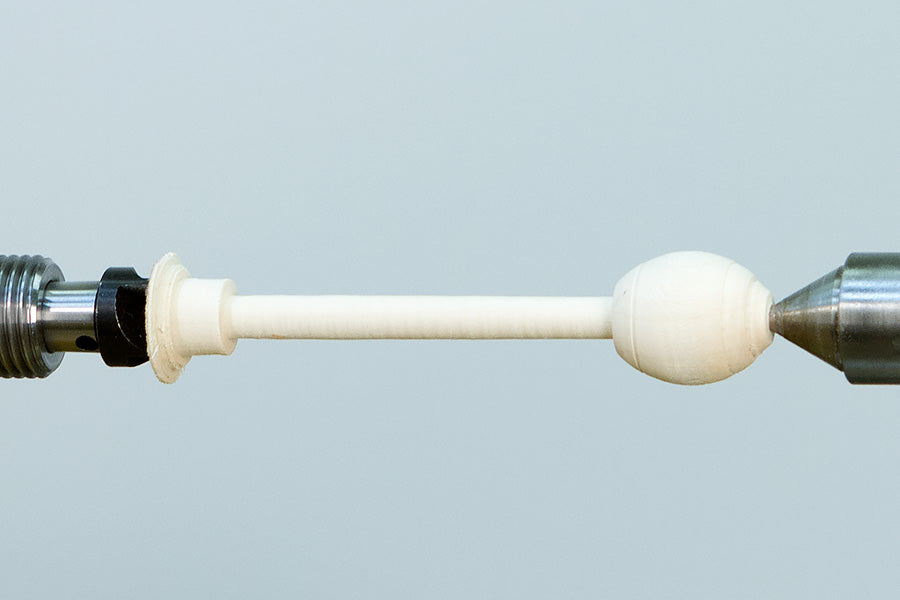
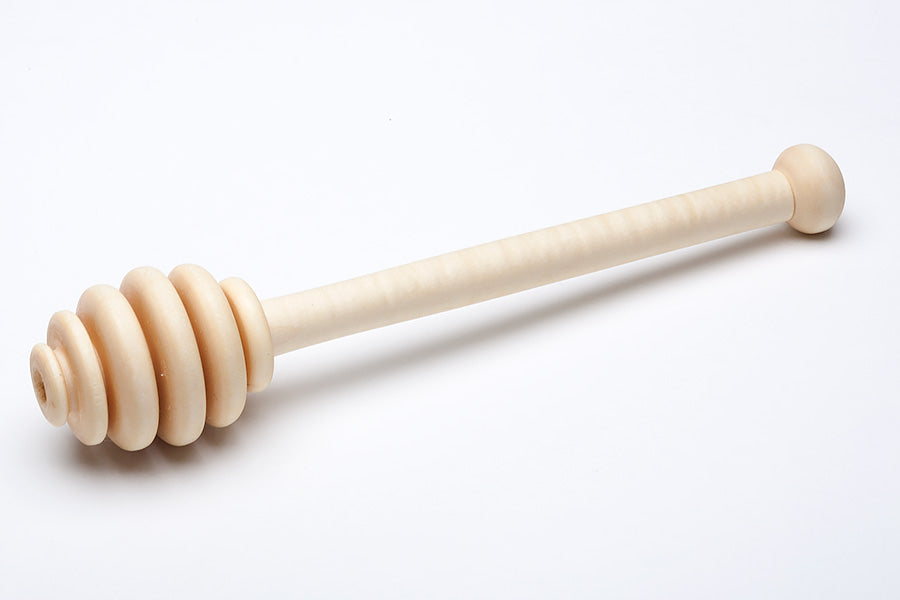
Turn the honey dipper to your desired shape leaving 1/4″ waste section on the headstock end of the blank with a spindle gouge or Easy Wood Tool.
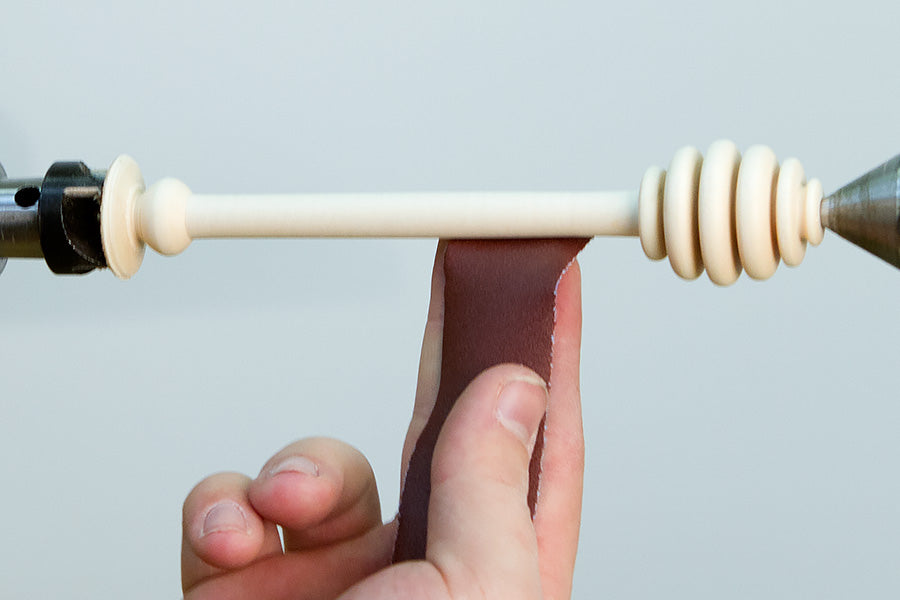
Using a Narrow Parting Tool cut evenly spaced grooves in the dipper. Round the blank between the grooves with your spindle gouge or Easy Wood Tool.

Sand and Finish the honey Dipper
Sand the handle through at least 320 grit.
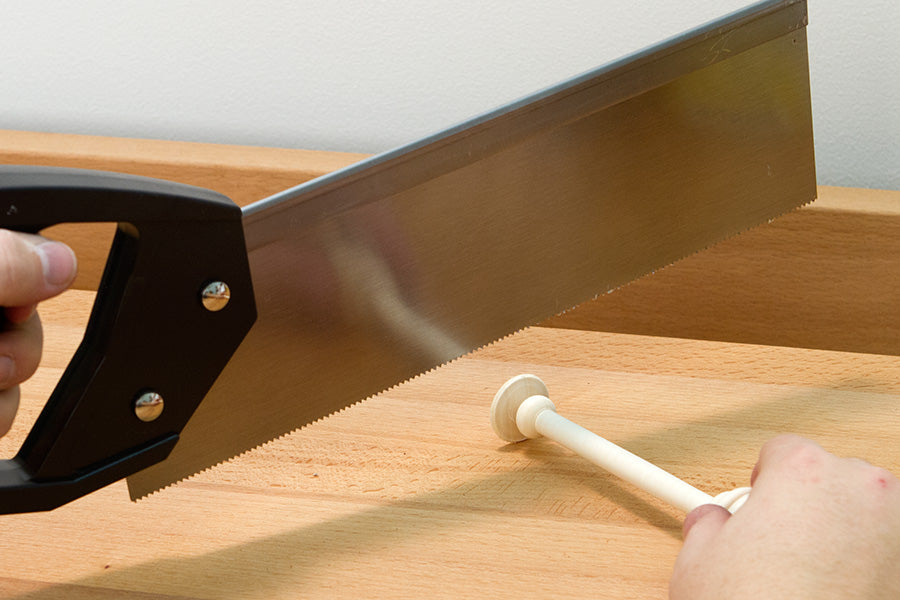
Finish the blank using a food-safe finish such as a Mahoney Utility Finish, or leave natural with no finish. Remove the honey dipper from the lathe and cut off the remaining waste section using a handsaw. Sand and finish the end.
Supplies Used:
Featured posts


