

Turning a Lidded Jewelry Box
There is nothing quite like pulling a stunning piece of wood out of the scrap bin and giving it a second life.
Recently, my wife mentioned needing a dedicated box to keep her everyday jewelry, necklaces, and earrings organized off the counter. I promised her I’d turn a custom lidded box, and to make sure I actually got around to it soon, I decided to take it to the lathe and film the whole process!
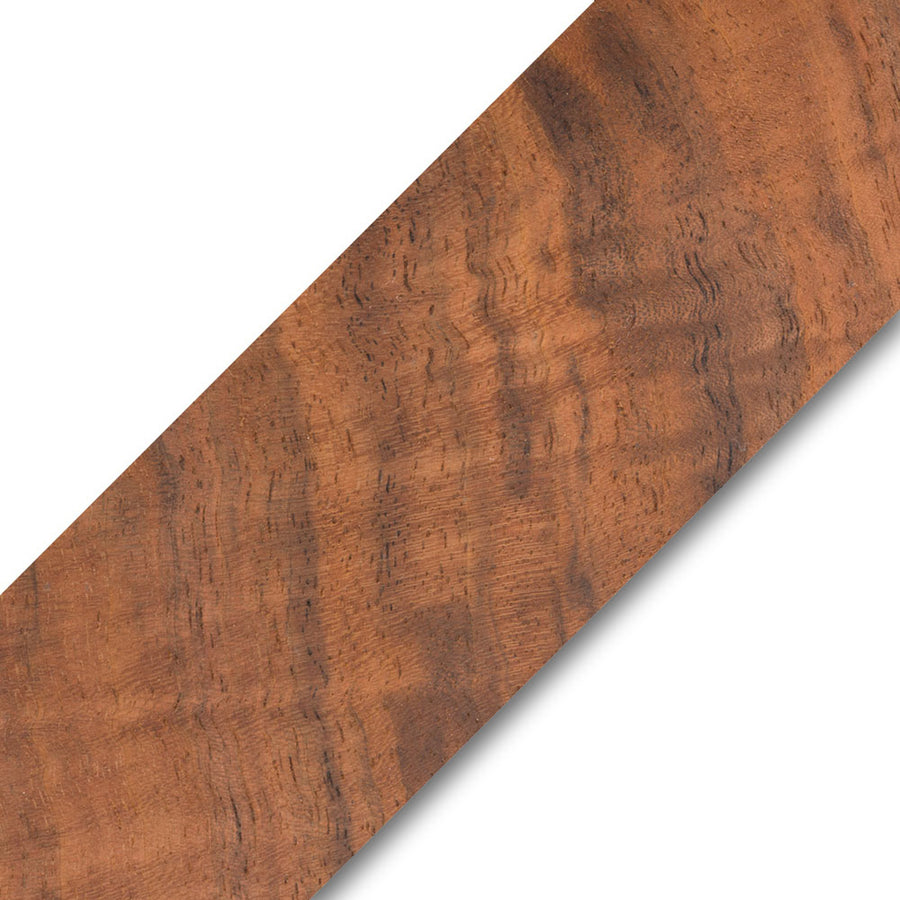
For this build, I picked up an incredible piece of Tiger Stripe Myrtle that had been sitting in our wood bin. It features bold black streaking combined with intense chatoyancy and curl, paired with a piece of African Blackwood for a small, contrasting lid knob.
Blank Prep & Maximizing Wood Yield
Before mounting anything to the lathe, it’s worth taking a minute to plan your cuts on the bandsaw. High-figure wood like tiger stripe myrtle isn’t cheap, so maximizing your yield saves money on future projects.
- Rough Blank Sizing: The main rounds were laid out at roughly 4-1/2” (~115 mm) in diameter.
- Bonus Yields: The leftover corners and edges from the square blank were salvaged to make future bottle stoppers, small tool handles, and ring blanks.
Tip: Never throw away corner drop-offs from round blanks! Small figure-packed offcuts make excellent accents, stoppers, and jewelry pieces down the road.

Roughing & Shaping the Base
After choosing which blank would serve as the base and which would become the lid, the base blank was mounted on a screw chuck.
Screw Chuck Safety Note
When mounting a rough blank to a screw chuck while the spindle is spinning, always make sure the blank is already rounded on the bandsaw. Spinning a square blank onto a screw chuck can catch and tear up your hands.
Spindle Gouge on Bowl Grain Orientation?
There’s a common myth in woodturning that you can’t use a spindle gouge on a bowl grain orientation. As long as you aren’t using a spindle roughing gouge (which can catch aggressively on side grain), a standard 1/2” or 9/16” spindle gouge works great for roughing small bowls - a technique popularized by turners like Richard Raffan.

- The Draw Cut: Running the lathe at ~1200 RPM, the gouge flute was rolled over to the 10 o’clock position, using a draw cut (pulling the tool toward you) on the left wing to remove waste material quickly.
- Sizing the Tenon: Using calipers, a shallow dovetail tenon was turned to fit my Vicmarc Shark Jaws.
-
Safety Reminder: When checking measurements on a spinning piece with calipers, only allow the left leg of the caliper to contact the wood (supported by the tool rest). Never engage the right leg on a spinning piece, or it will kick back violently.
-
Safety Reminder: When checking measurements on a spinning piece with calipers, only allow the left leg of the caliper to contact the wood (supported by the tool rest). Never engage the right leg on a spinning piece, or it will kick back violently.
- The Push Cut for Finish: While a draw cut removes wood quickly, a push cut (rubbing the bevel from bottom to top) leaves a vastly superior burnished surface with zero torn fibers.
Hollowing & Finishing the Interior
With the tenon set, the piece was remounted into the scroll chuck jaws.
Because end grain compresses differently than side grain under chuck pressure, mounting the piece slightly offset at a 45° angle balances the jaw pressure across both fiber orientations, ensuring the piece runs 100% true.
Key Hollowing Steps:
- When starting the hollowing cut with a gouge, ensure the flute is closed (3 o’clock position, parallel to the bed) so the bevel makes contact first. Opening the flute too early causes the tool to skate.
- A heavy curved scraper makes fast work of the interior. Keep the tool constantly moving in a smooth, fluid arc to avoid creating “speed bumps” or wavy ridges on the inside curve.
- To eliminate end-grain tearout inside the curve, switch to a negative rake scraper with a trailing handle angle.

An Ultra-Thin CA Finish for Maximum Chatoyancy
To bring out the extreme depth and shimmer (chatoyancy) of the figure without creating a thick, plastic-like shell.
- Sanded through 400 grit, then burnished with wood shavings at low RPM.
- Applied two light coats of ultra-thin CA glue using a paper towel pad to seal the open grain and end-grain fibers.
- Knocked down the sheen with 1500 and 2500 grit non-woven abrasive pads to level the surface.
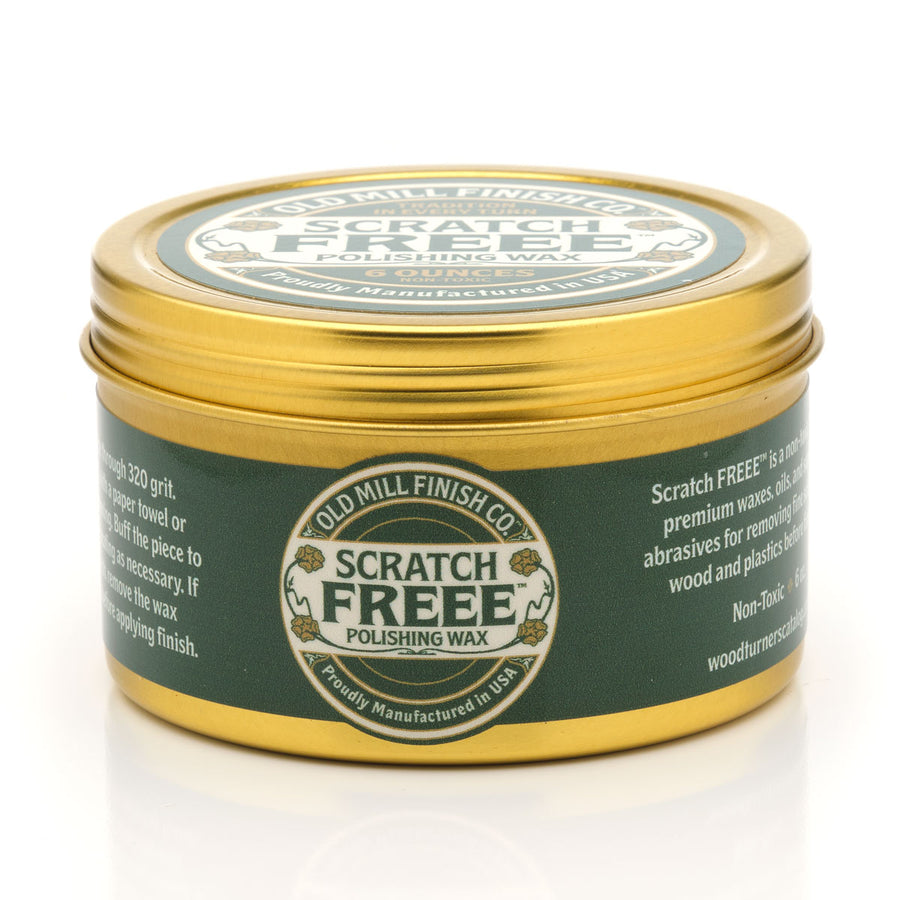
- Finished with a fine abrasive scratch-free paste and food-safe wax for a silk-smooth gloss.


Turning & Fitting the Lid
The lid blank was turned down to create a shoulder that fits snugly inside the open bowl base.
- Aim for a “one-handed” drop fit. You shouldn’t need two hands or heavy pressure to remove the lid, especially since wood movement across seasons will cause side-grain fittings to expand slightly.
- The shoulder of the lid was slightly undercut so the exterior bead seats flush against the rim of the base with no visible gap.
- A shallow dovetail recess was turned into the underside of the lid, allowing it to be mounted in expansion jaws to finish shaping the top side.

Shaping the Top Profile & Adding the Finial
With the lid expanded on the chuck jaws:
- The top of the lid was shaped into an elegant OG curve terminating at a crisp outer bead.
- A small mortise (roughly 15.7 mm) was drilled/turned into the apex of the lid to receive the Blackwood knob.

The African Blackwood Knob
African Blackwood is extremely dense and hard making it ideal for crisp detail work, though traditional ground scrapers will catch easily on it.
- Used a steep-bevel gouge and negative rake scrapers to turn a small, refined bead profile.
- Sanded to 400 grit, sealed with a single light coat of thin CA glue, and polished with Scratch Freee before parting off.

The Finished Piece
After gluing the blackwood knob into the lid mortise with a drop of CA glue, the project was complete!
The combination of the rich, golden-brown tiger stripe myrtle and the deep black contrast of the African Blackwood knob makes for an absolute showstopper. Between the crisp beads, silk-smooth interior, and easy one-handed lid fit, it’s safe to say this box turned out way too nice to stay buried on a counter!

Key Takeaways for Your Next Lidded Box:
- Don’t fear the spindle gouge: Use draw cuts for roughing side grain and push cuts for fine finishing.
- Master the jam chuck: Giving yourself a non-destructive way to remount the base or lid saves headaches if you ever need to repolish or touch up a detail later.
- Thin CA + Abrasive Wax: An incredible finish combo for high-figure woods when you want maximum chatoyancy without a heavy film finish.

Featured posts