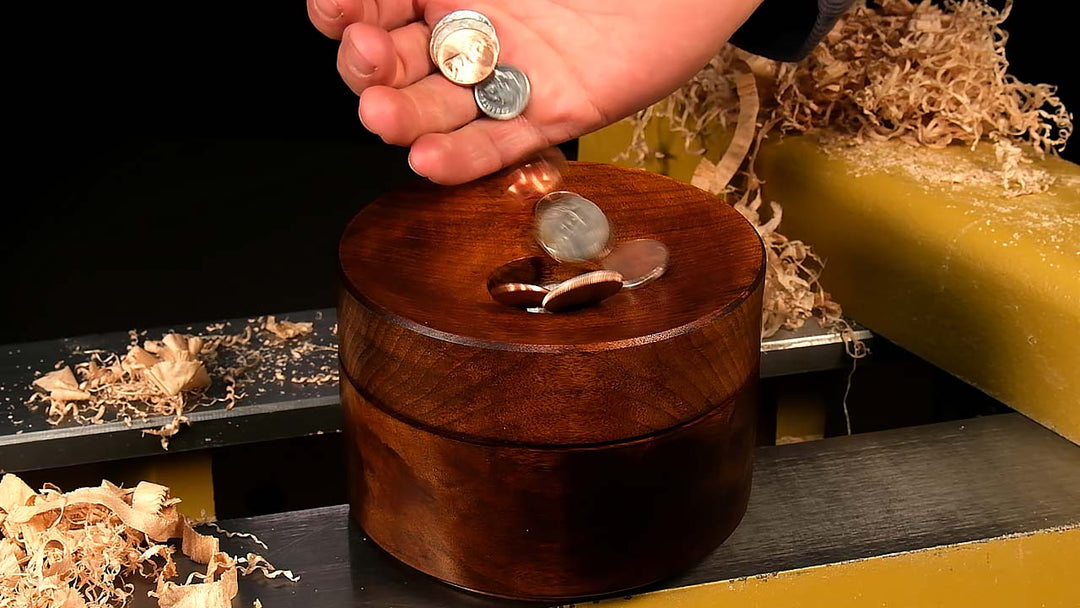
Turning an Artisan Comfort Ring
Almost everyone owns a ring, but seeing one made from wood is rarity that gets a lot of attention. These ring cores are made from highly polished solid stainless steel that won’t tarnish or stain and the interior edges have a rounded profile making them very comfortable to wear.
Available in a full range of sizes and widths to suit everyone’s tastes, these rings have been a big hit with the team here at Craft Supplies USA. We’re going to turn an 8 mm wide ring for this how-to, but first I need to pick a blank that is at least 1/16” wider than the ring.
Blank selection is very important with this project. Once turned, there is very little material left so wood movement must be kept to an absolute minimum or it could crack in half. The blank needs to be very dry, or better yet, stabilized. Stabilized blanks have resin drawn in through the pores making them impervious to wood movement, which is perfect for rings. Dense, tight grained exotics work well too.
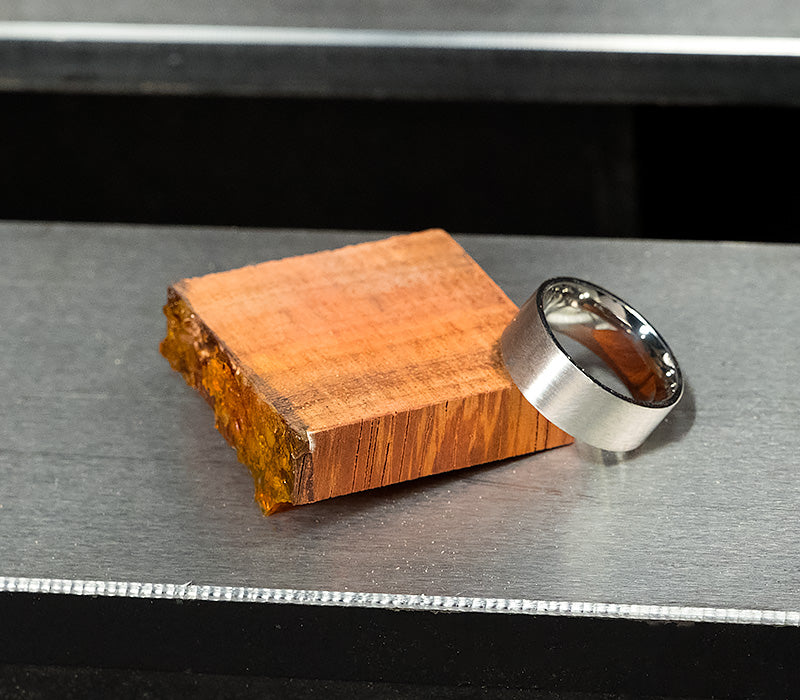
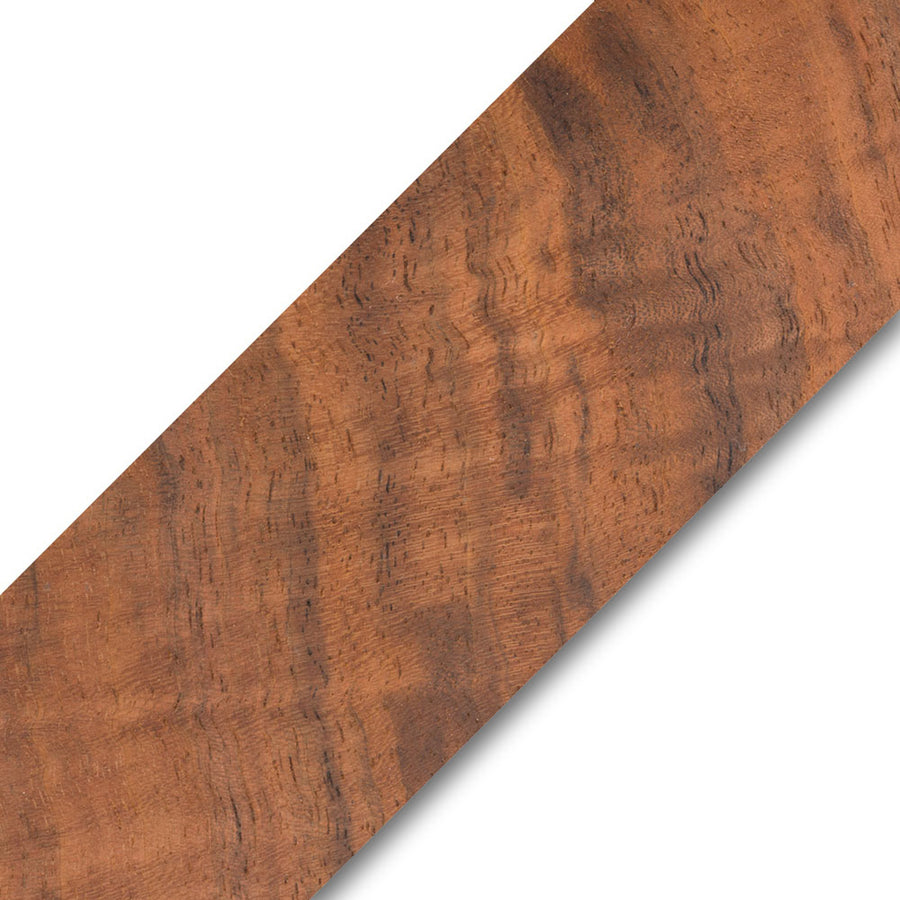
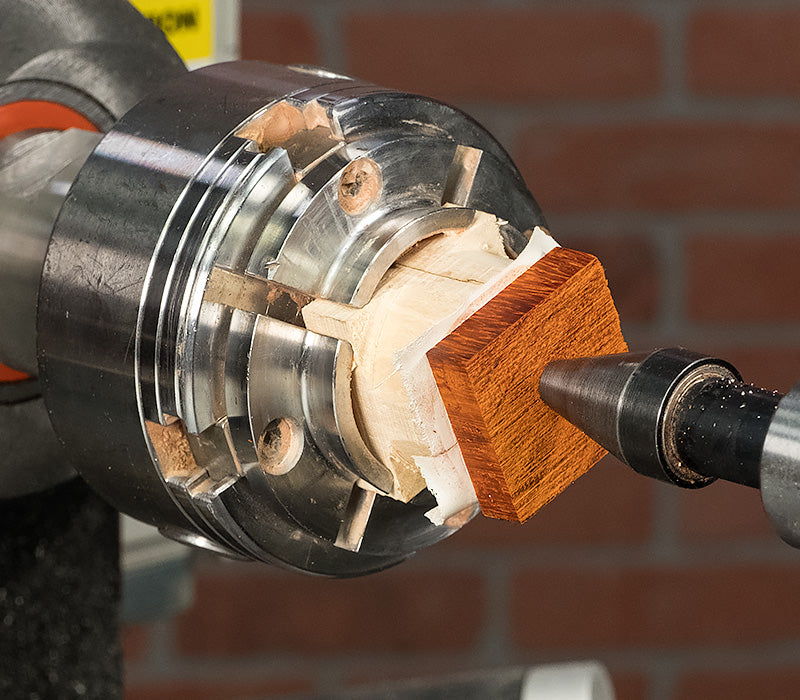
I’ve selected a stabilized Padauk blank, now I need to prepare it for turning. It will be mounted to a waste block using double-sided tape, but first I need a flat reference face. Lay some 120 grit sandpaper on a flat surface, and sand one side flat. Once it’s flat, apply double-sided tape to the reference face, then flip it over and mark the center of the blank. Alternatively, you can apply the double-sided tape to the waste block first, either way works great.
At the lathe, mount a waste block and true up the face using a skew. This will be our jig for drilling and rough turning the blank for the ring core.
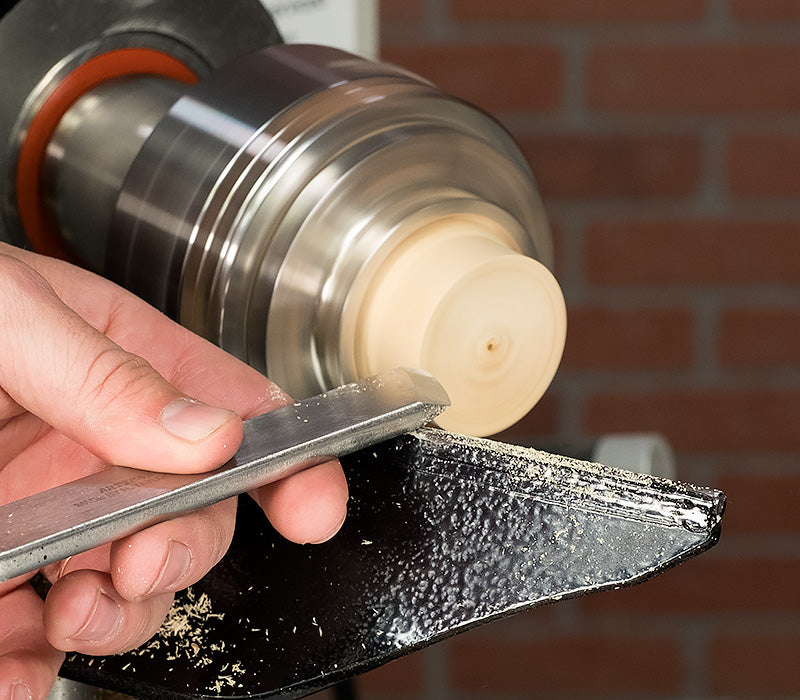
Peel off the tape backing and line up the center mark with the revolving center, then use the tailstock to apply firm pressure for about 30 seconds so the tape bonds securely to the waste block. With the tailstock still in place rough turn the blank to round.
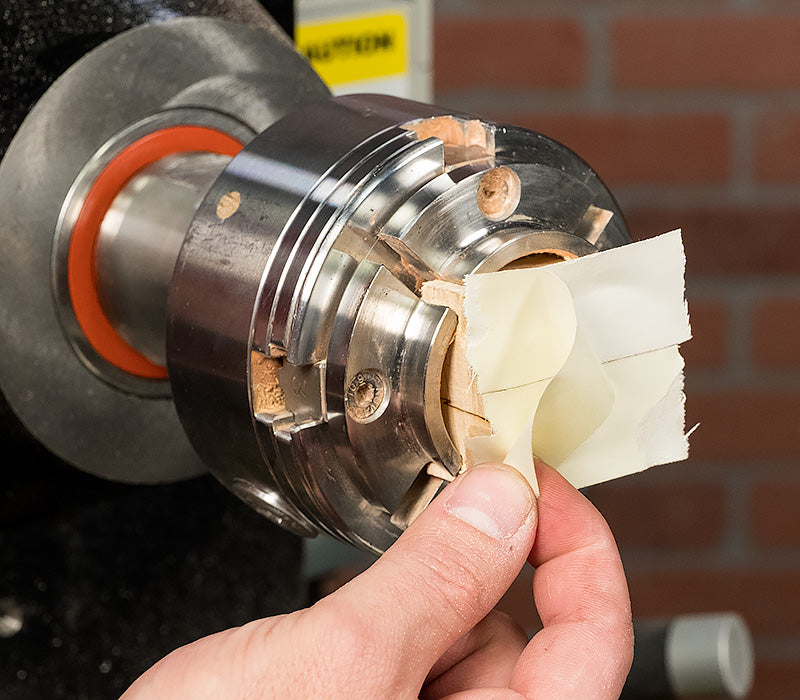
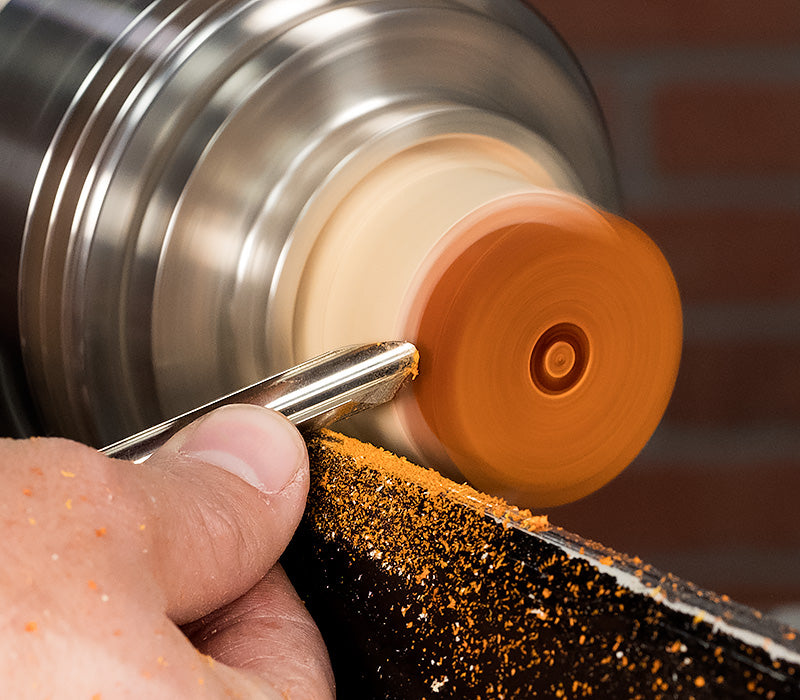
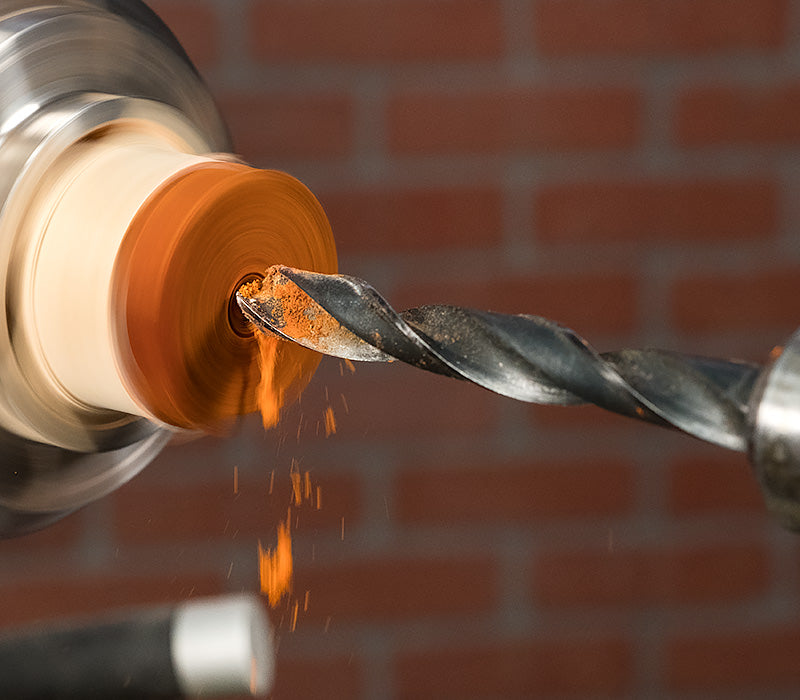
Next, select a drill bit that is approximately half the diameter of the ring core to make a pilot hole. Install the bit in a drill chuck and drill completely through the blank.
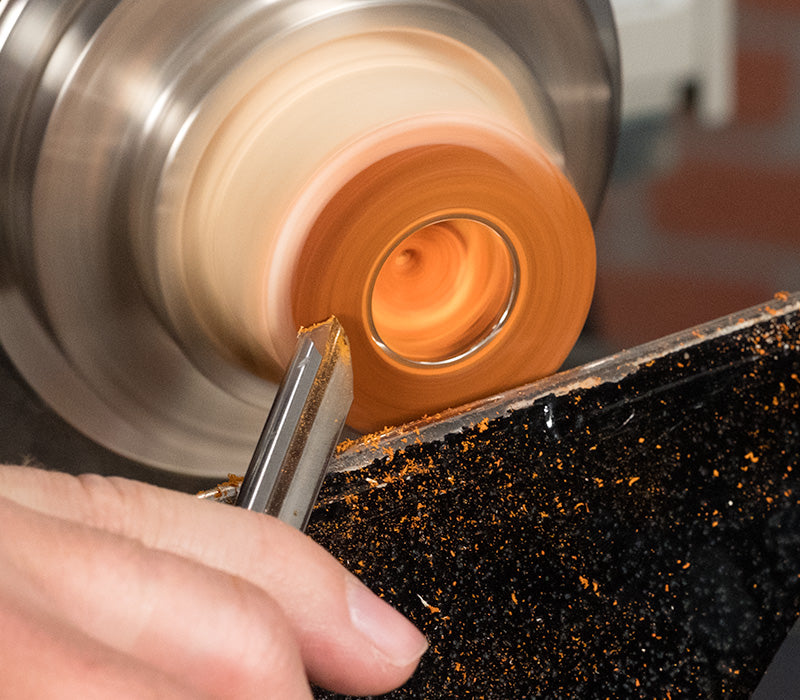
This next step is the most critical, so take your time here. Using a narrow scraper or skew laid flat on its side open up the drilled hole until the ring core fits snugly. Stop and test the fit frequently to prevent an oversized hole.

Tip: It is a good idea to keep a few different size ring cores on hand just in case the hole is turned too big, in which case simply use the next size larger ring core.
Once the fit is right press the ring core into the hole until it seats flat against the waste block. Now true up the side of the blank and turn it down until it is just a hair wider than the ring core. Be careful not scratch the polished surface with the tool.
Tip: If you do scratch it, you can usually buff it out with white diamond compound on a buffing wheel.
Next, carefully peel the blank off the waste block with a putty knife. I leave the ring core in the blank during this process for additional support. Use slow, steady pressure so the blank doesn’t break.
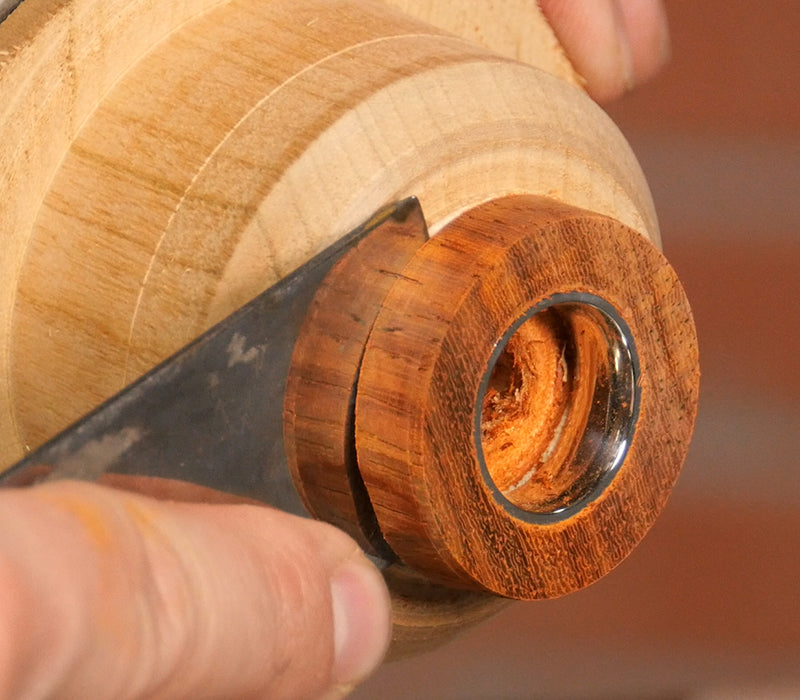
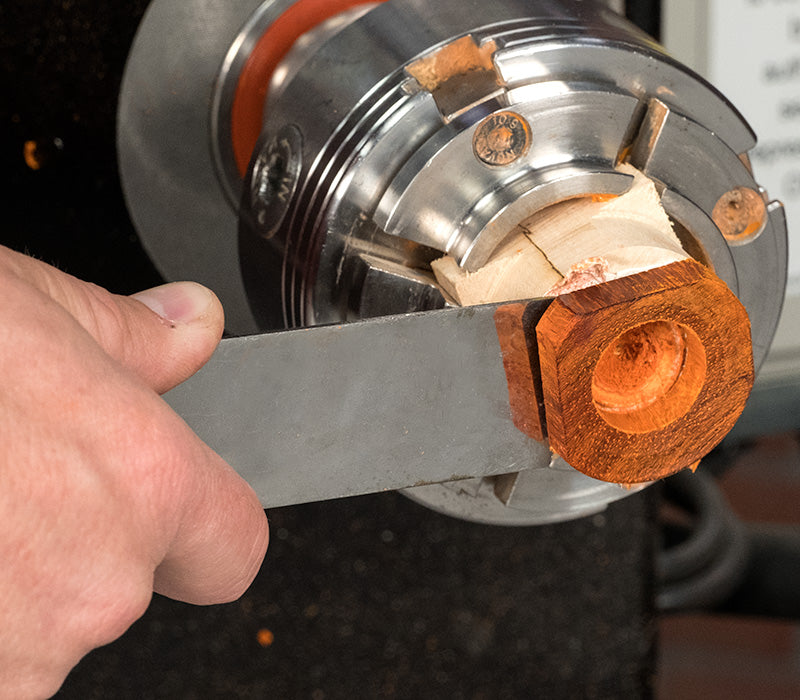
Now we’re ready to glue the ring core in the blank. First, lightly scuff the outside rim of the ring core with 220 grit sandpaper to give it some tooth for the glue.
Lightly coat the inside of the blank with epoxy or CA glue. This gives the wood a chance to absorb some glue before the ring core scrapes the excess away. Insert the core until is flush with the edges.
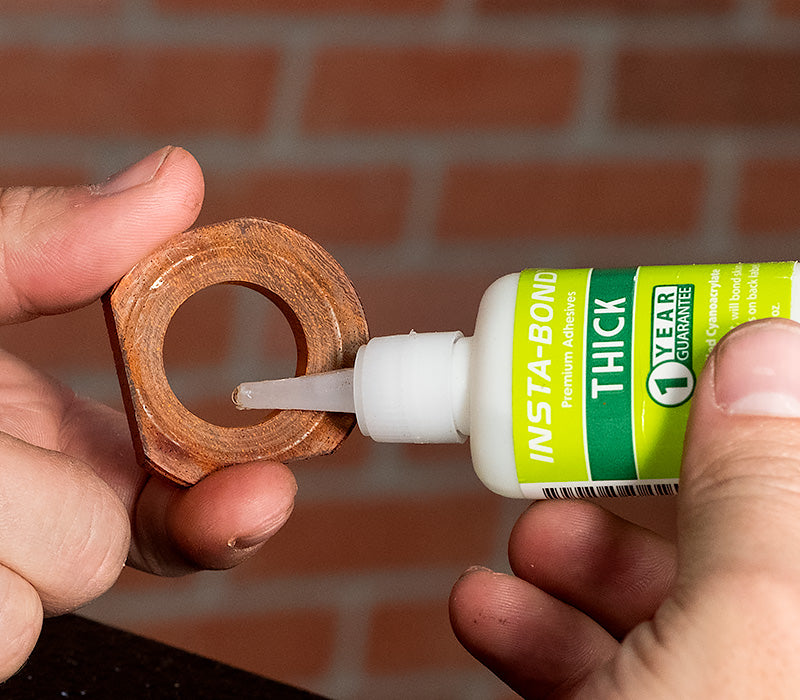
Tip: You can lay wax paper on a flat surface to make this easier. Wipe away excess glue and let it cure.
Don’t worry if you didn’t get all the glue off the ring, it easily scrapes off the polished stainless steel surface using your fingernail.
After the glue has cured, mount the ring between the delrin ring bushings on a pen mandrel. There are 3 different sizes of delrin bushings available depending on the ring size you are making. This is a size 8 ring, so I’ll use the medium bushings that fit ring sizes 8-11. The delrin won’t scratch the ring core and glue won’t stick to them when applying a CA finish.
You can mount the mandrel in a collet chuck as pictured, or on a standard pen mandrel as seen in the video above. When using a pen mandrel I use a spacer (either a turned piece or spare pen bushings stacked together) to move the turning a little further from the headstock. I prefer using a Precision Machine Pen Center on the tailstock end.
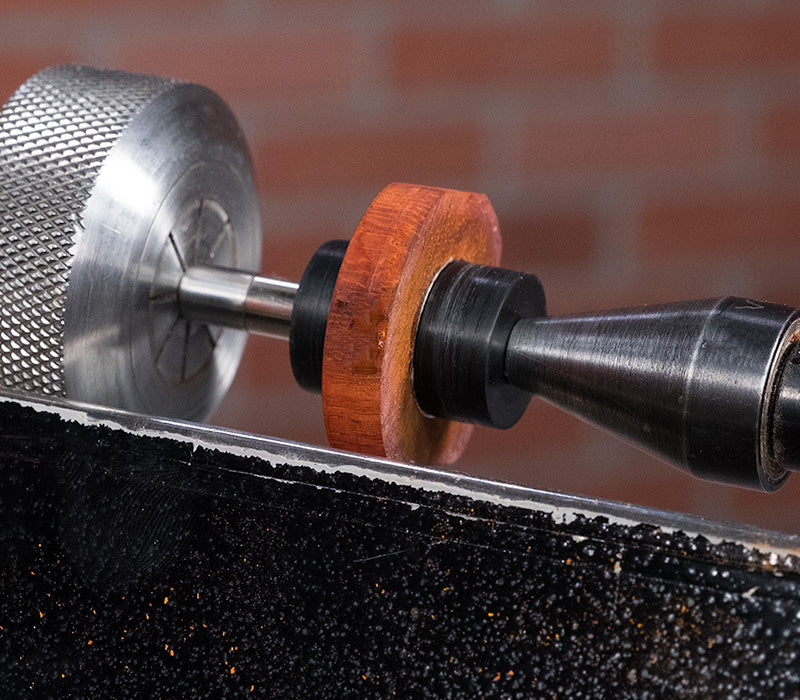
Now we’re ready to turn the ring to shape. The blank is very delicate, so take light cuts. I like to use a negative rake scraper when turning rings because it’s non-aggressive and easy to control. A skew laid on its side is perfect for this.
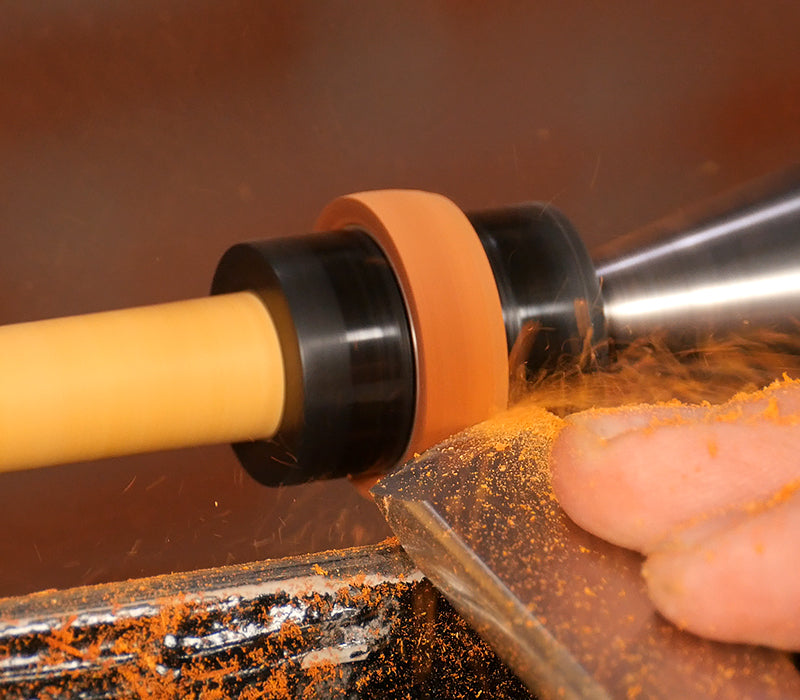
Once it’s turned to shape, sand the blank through 320 grit or higher. I’ll sand this to 600 grit with Abranet Sanding Screens and then sand with Mirlon Scuff Pads.
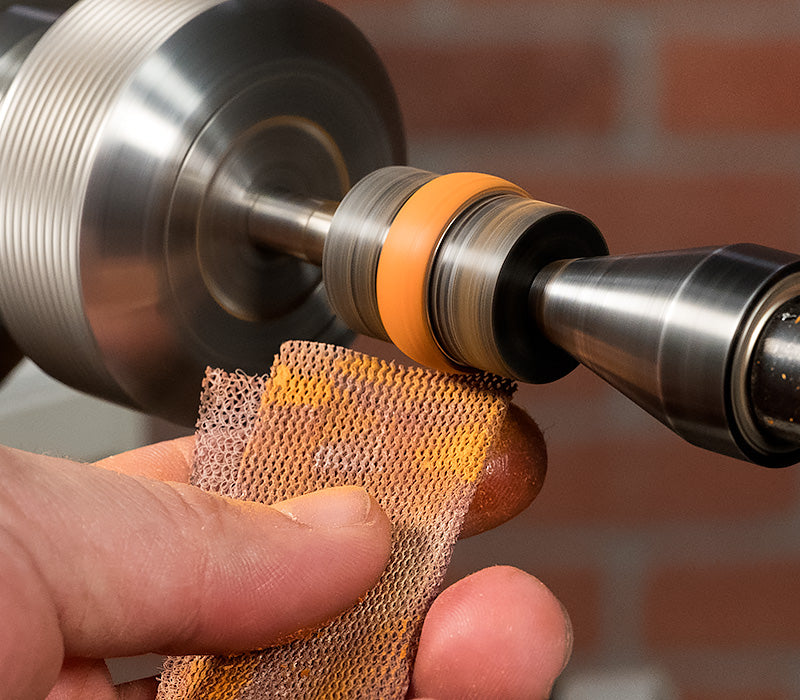
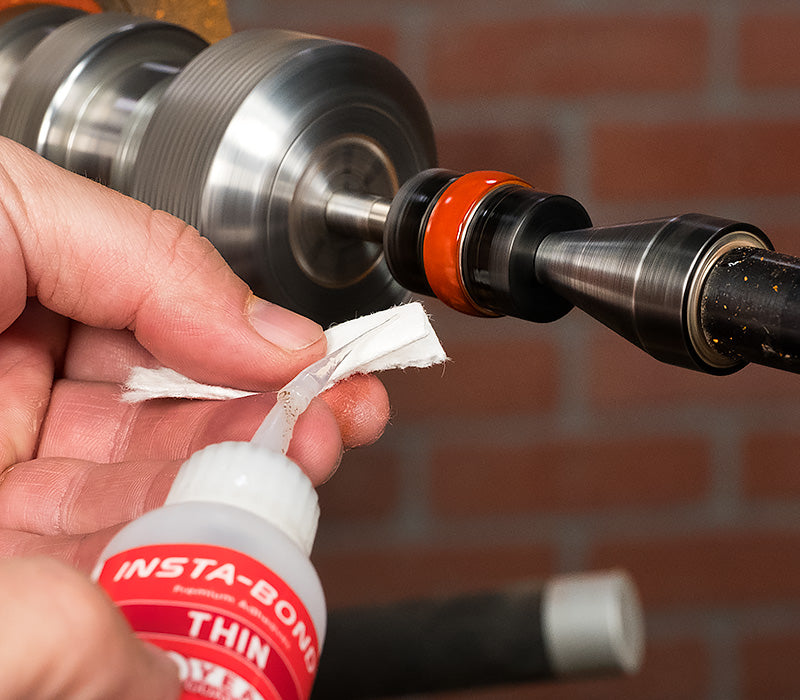
There are lots of options for finish, but we recommend a CA finish for wooden rings because its durable, resistant to moisture and builds to a very high gloss. And jewelry is supposed to be shiny!
I’ll apply at least 10 coats of thin CA for rings, then buff with Micro Magic Polishing Waxes.
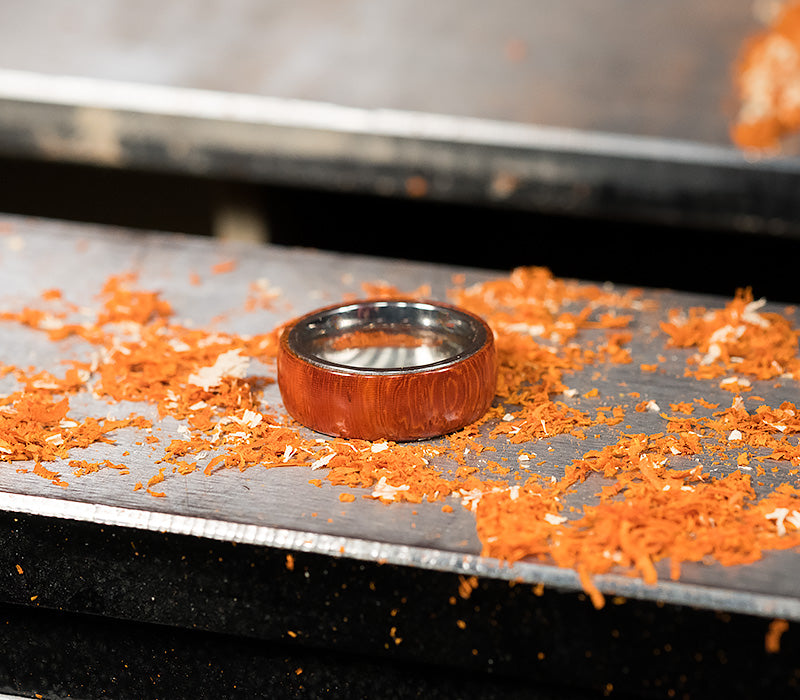
As you can see, it’s a delicate process, but with careful preparation you can easily make a piece of jewelry that has a unique beauty only nature could produce.
Supplies Used:
Comfort Ring Core
Ring bushings
Ring blank
Double-Sided tape
Drill Chuck
Square Scraper
Skew
Spindle gouge
Pen Mandrel
Pen Center
CA Glue
Abranet Sanding Screens
Mirlon Sanding Pads
Dr. Kirk’s Scratch Freee
Dr. Kirk’s Micro Magic
