Make a Wooden Spatula
There’s something incredibly satisfying about creating something useful with your own hands, especially when it’s for your kitchen. If you’ve got some scrap wood and access to a wood lathe, you’re well on your way to crafting a beautiful and highly functional wooden spatula. This isn’t just a quick and fun project; it’s a chance to customize a tool that will become a staple in your daily cooking.
Ready to get turning? Let’s dive in!
Prepping Your Spatula Blank
The journey begins with selecting the right wood. While you could use wet or green wood for a unique, warped look, it’s generally best to stick with dry material to prevent unwanted movement.
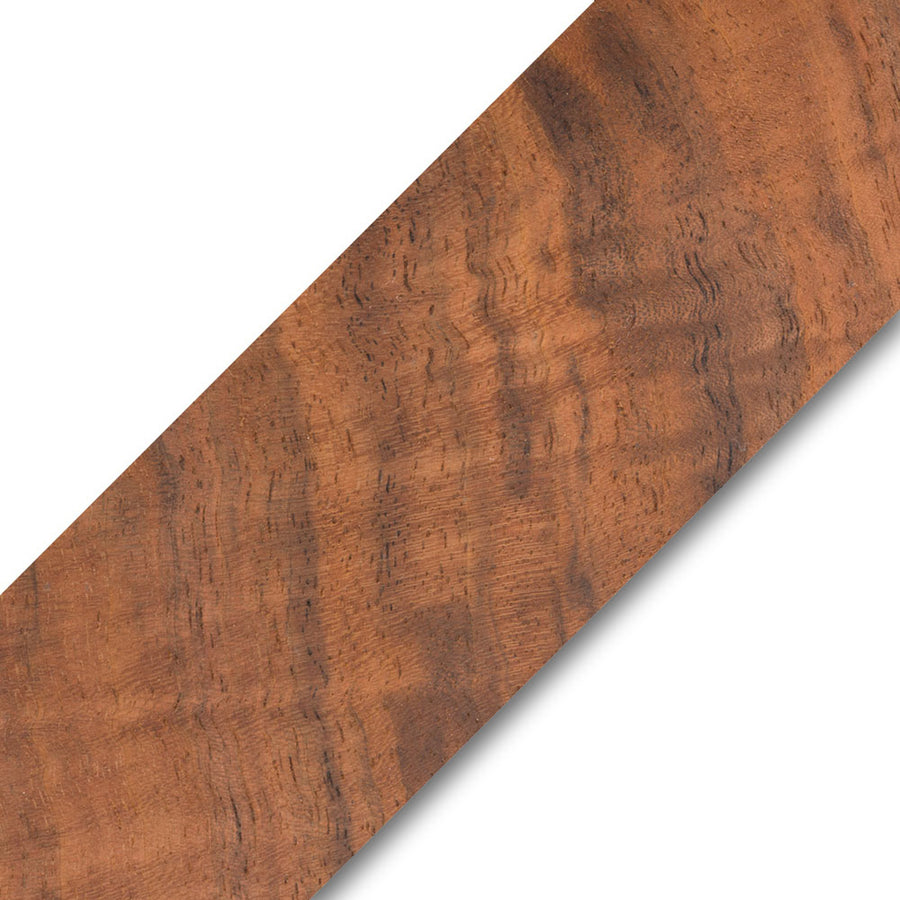
For our spatula, a piece of walnut burl about 10” long works perfectly. Before you even get to the lathe, grab your bandsaw and cut a taper into the spatula end. This pre-shaping saves you a lot of sanding later! Leave the handle end a bit thicker, around an inch, for a comfortable grip.
Mounting and Centering on the Lathe
Once your blank is prepped, it’s time to get it on the lathe. We’ll be using Vicmarc’s extended pin jaws for this project.
- Mount the flat section of your spatula blank securely into the pin jaws, clamping it down lightly.
- Bring up the tailstock and center the point of your revolving center as precisely as possible on the handle end. This is crucial for a well-balanced handle without flat spots.
- Ensure the blank is centered on the jaws as well, with equal material sticking out on both sides. Take your time with this step – a properly centered blank makes for a smoother turning experience.
- Once everything is locked down and secure, set up your tool rest.
Roughing and Shaping the Handle
With the blank mounted, the real fun begins! Your goal initially is to rough down the entire exterior and start shaping your handle. Any decorative details or additive designs you want on the handle should be planned and started now.
For this project, a 1” skew chisel is your best friend. While a spindle gouge can be handy for rolling beads, the skew will handle most of the work.
Before you start, don’t forget your safety glasses and dust mask or air filtration system.
Lathe Settings and Turning Techniques:
- Tool Rest Height: For wider blanks, start with your tool rest slightly above center for roughing. You can lower it later as the diameter reduces.
- Turning Speed: Aim for about 1,500 RPM or faster. Because the spatula blank has flat sections and hollows, a faster speed makes it behave more like a solid piece of material, leading to cleaner cuts and greater efficiency. Just make sure it’s snug in the chuck!
- Skew Chisel Technique: The key to successful skew turning is to stay on your bevel. Make planing cuts from the center of the tool towards the heel, keeping the handle low on your hip. This technique ensures consistent bevel contact and minimizes catches, leaving a beautifully clean surface. If you rotate the tool too much, engaging the tip, you’re inviting a catch. Keep it rotated more towards a 45-degree angle.
As you turn, you’ll notice a distinct sound change as the tool moves from the flat sections to the rounded portions. The “slapping” sound will diminish as the piece becomes more consistently round.
Refining the Spatula Shape and Adding Details
Once you’ve roughed down the handle, you can start defining the spatula’s curve and adding any decorative elements.
- Adjust your tool rest as needed, especially as the diameter of the handle reduces.
- Define your spatula’s curve and the transition to the handle. Think about where you want your handle to start for the best balance and aesthetics.
- Roll a decorative bead using your spindle gouge if desired. Remember to ride the bevel first for clean, controlled cuts.
- Reduce the diameter of the handle to your liking. A slightly thinner, lighter handle is often more comfortable to use.
As you get closer to the chuck jaws while shaping the upper part of the spatula, be extremely careful. Lightly glide your tool across the surface and avoid pushing too hard, as you could slip and hit the jaws. Observe the “horizon” of the piece, not just the cutting edge, to gauge how much material you’re removing.
Finally, create a rounded end for your handle. If you want to add detail lines, now’s the time! A few quick V-cuts with your skew chisel can add a nice touch. Turn the nub at the end as small as possible without breaking it off to prevent tear-out. You’ll finish cutting this off with a hand saw later.
Sanding on the Lathe and Beyond
Sanding is where you’ll truly refine your spatula. Start with the handle and as much of the turning as possible while the piece is still on the lathe.
- Reduce your lathe speed to about 500-600 RPM and remove your tool rest.
- Begin with 180 grit sandpaper and work your way up through finer grits (e.g., 220, 320). Take your time to refine curves and smooth out any imperfections.
- Avoid overheating your work surface or sandpaper, as this can degrade the abrasive quickly.
Once you’re happy with the turned sections, it’s time to remove the spatula from the lathe by cutting off the nub with a hand saw.
The next step is to address the band saw marks on the flat sections of your spatula. A belt sander or disc sander is ideal for this. This is also your chance to thin out the blade and add a slight radius to the nose for easier scraping and sautéing. This simple step makes a huge difference in the spatula’s functionality!
- Keep the lathe speed to the 500-600 RPM range.
- Place a sanding disc holder in a drill chuck in the headstock and attach a sanding disc.
- Turn on the lathe and sand the flats of the spatula. Keep the blank moving, applying moderate pressure.
- Sand through your grits, and don’t forget to soften the edges when you get to the higher grits.
The All-Important Wet Sanding Step
To ensure your spatula stays smooth even after repeated washings, you need to raise the grain and then sand it off.
- Wet the entire spatula thoroughly with water (a wet rag or a quick soak in the sink works).
- Let it air dry for a few minutes. You’ll feel the grain swell up and become fuzzy.
- Once dry, re-sand the entire piece with your fine-grit sandpaper (e.g., 320 grit). This will knock down the raised fibers, leaving a permanently smooth surface.
- Use a bristle brush or air compressor to clean your sanding disc, as wet sanding can clog it quickly.
- Don’t forget to hand-sand the handle with sheet paper for a perfectly smooth feel.
Finishing with a Food-Safe Oil
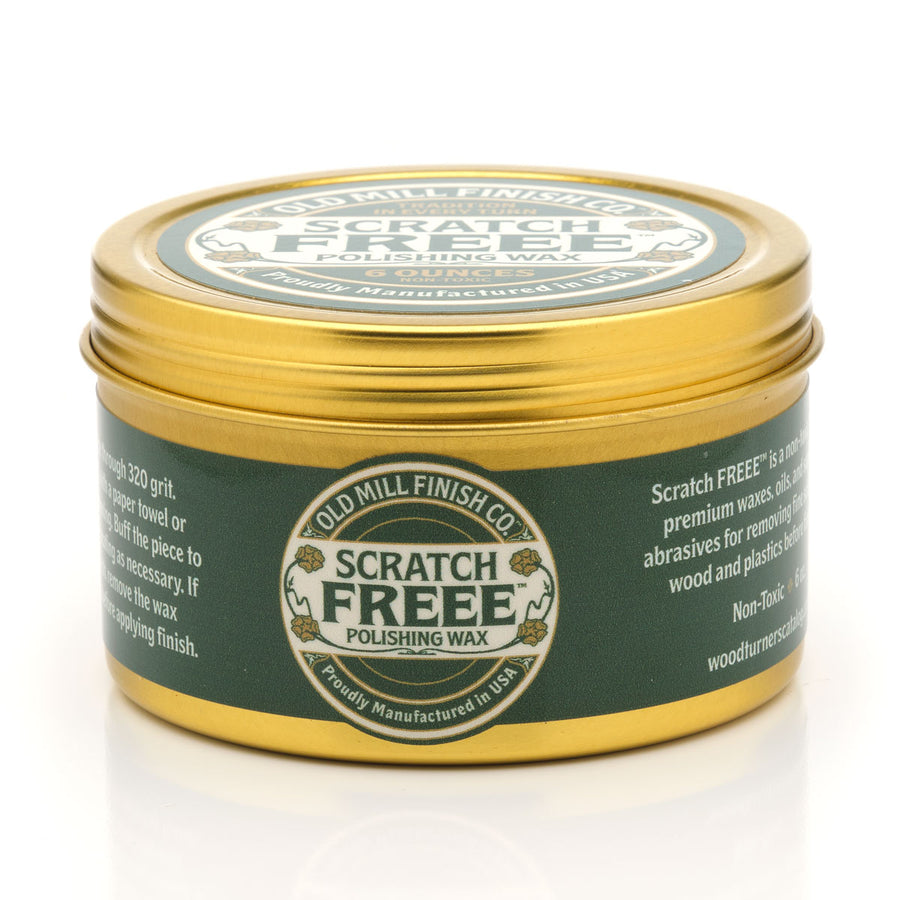
The final touch is applying a food-safe finish to protect your spatula and bring out the natural beauty of the wood. Options include Mahoney’s Utility Oil, mineral oil, or products like Dr. Kirk’s Scratch Freee which often contain mineral oil with a wax base.
- Apply the finish generously, making sure to get into any detail grooves.
- Products with a polishing compound or using fine abrasives like 1,500 grit non-woven pads or steel wool can help further refine the surface as you apply the finish.
- Let the finish soak in, then wipe off any excess oil and wax with a clean rag.
Your finished wooden spatula will have a beautiful, protective satin finish that highlights the wood grain and is ready for everyday kitchen use!
This project is a fantastic way to utilize scrap wood and create a highly practical item. Wooden spatulas are not only fun to make, but they also sell well at craft fairs and make excellent gifts. So, grab some wood, head to your lathe, and start turning!
