

Turning a Kitchen Scoop
If you are looking for a fast, rewarding woodturning project that doubles as an impressive handmade gift, custom wooden kitchen scoops are hard to beat. Inspired by professional production turner Nick Cook, this two-tone utility scoop combines end-grain bowl turning, crisp spindle detail, and a rock-solid through-tang joint.
Because you can scale the bowl diameter and handle length to fit anything from a deep coffee canister to a small sugar box, it is one of those projects that quickly becomes addictive. Plus, it is a fantastic way to use up small cutoff blanks and practice your skew and bowl gouge control.
Choosing Your Wood: Strength Meets Contrast
Pairing two contrasting hardwoods gives your scoop a high-end, custom look. However, because the handle tapers down to a narrow diameter (around 1/4” or less at the thinnest details), wood selection is critical for structural integrity:
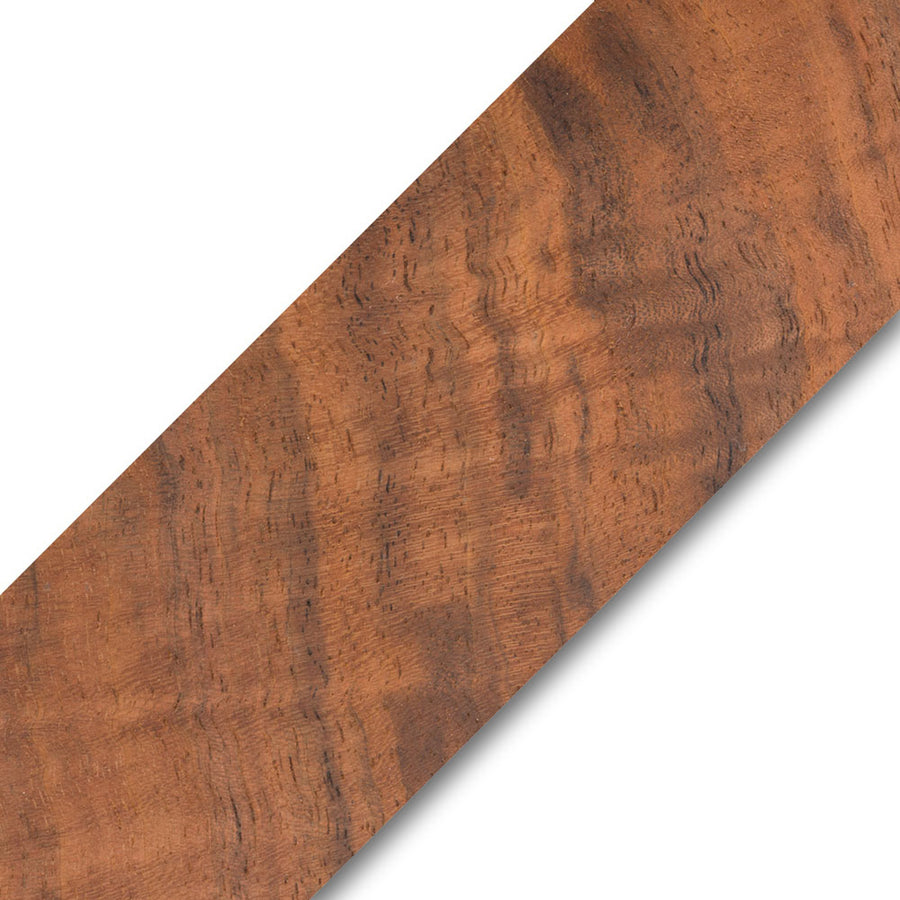
For the handle blank, dense exotic hardwoods like Kingwood, Cocobolo, Pink Ivory, Tulipwood, or Koa are ideal because they hold crisp spindle details and resist snapping when turned thin. If you prefer domestic hardwoods such as Maple, Cherry, Walnut, Oak, or Hickory, choose straight-grained stock free of defects or heavy curl, as figured grain can shear easily at thin diameters. For this project, we used Zebrawood, which offers dramatic striping and open pores that can be reinforced with thin CA glue during turning.
For the scoop blank, since the cup walls aren’t subjected to the same leverage as the handle, you have plenty of flexibility. Hard Maple (especially Bird’s Eye), Walnut, Bradford Pear, and exotic offcuts like Bocote all work wonderfully. Turning the bowl in end-grain orientation showcases striking grain patterns running cleanly through the cup.

Turning and Hollowing the End-Grain Bowl
- Mount your bowl blank in your chuck using a tenon. Using Shark Jaws gives you valuable clearance away from the chuck body when working with a skew. Face off the end with a slight concave dish using your 40/40 bowl gouge, establish your overall bowl height, and cut a parting relief groove at the base.

- Use a skew chisel to turn a closed-over, calabash-style rim. Tapping the rim slightly inward toward the center isn’t just aesthetic - it keeps coffee grounds or sugar from spilling out when you scoop.
- Before hollowing the inside, drill a 1/4” hole roughly midway up the side of the bowl, angled 4 to 5 degrees upward so the handle sits at a comfortable lift when the bowl rests flat. Drilling before hollowing prevents the drill bit from blowing out delicate fibers on thin walls. Align your hole perpendicular to the growth rings to minimize the risk of splitting.

- Use a round carbide scraper positioned slightly above center (in a trailing angle) to hollow the end grain. Aim for a smooth, continuous interior curve and a wall thickness of about 2mm to 3-1/2mm depending on the wood’s density. To eliminate chatter near the thin rim, rotate your carbide cutter 45 degrees into a negative-rake trailing cut and anchor your thumb on the tool shank against the rest.

- Sand the interior and upper exterior through 320, 400, and 600 grit, followed by 1500 and 2500 grit Mirlon pads. Safety tip: Apply sanding pressure only to the back half of the bowl’s interior (trailing the drilled hole) so the hole doesn’t catch your sandpaper and pull your fingers. Burnish the outside with a handful of wood shavings, then carefully part the bowl off using light V-cuts with your skew.
- Turn a slightly tapered step on your remaining waste block so the inside rim of the bowl seats snugly via friction. Support the bowl lightly by hand, slice away the remaining parting nub with the nose of your 40/40 bowl gouge, and sand/burnish the bottom to match.


Turning the Zebrawood Handle
- Chuck your handle blank in extended pin jaws and bring up your live tailstock center with light pressure. Over-tightening the tailstock can induce tension that causes thin spindles to bow or warp once released.
- True the blank to round with sheer planing cuts using your 1/2” skew. Lay out your transitions with a pencil, combining classic elements like ogees, coves, fillets, and a half-bead collar where the handle meets the bowl.

- Cut your coves and beads with your skew and the acute nose of your 40/40 bowl gouge. When working with open-pored woods like Zebrawood, saturate thin sections with ultra-thin CA glue and activator mid-turn; this fills the pores and stiffens the wood fibers so you can make crisp finishing passes without chatter.

- Using calipers set to your 1/4” drill bit, turn a tenon about 1/4” to 5/16” long at the bowl end of the handle. Aim for a snug slip-fit rather than a tight press-fit - forcing an oversized tenon into an end-grain bowl will split it.
- Keep your crisp spindle edges sharp by folding sandpaper neatly into tight coves rather than oversanding across details. Burnish with shavings, part the handle off while supporting it by hand, and clean up the tiny parting nubs with a sharp skew or chisel and hand sanding.
Assembly and Food-Safe Finishing
- Dry-fit the handle into the bowl to choose your favorite grain orientation. Apply ultra-thin CA glue (or two-part epoxy for extra gap-filling strength) around the tenon shoulder, press the pieces together, and wipe away any squeeze-out. The rounded-over tenon protruding slightly into the bowl creates a clean, traditional through-tang detail.

- Because this scoop will contact food, skip synthetic lacquers and opt for a food-safe finish. We applied a generous coat of Tried & True Varnish Oil, let it soak in for 15–20 minutes, apply a second light coat, and let it cure overnight. Once dry, buff on a topcoat of food-safe Wood Butter (a blend of beeswax and natural oil). It leaves a warm, natural luster that is easy to touch up whenever the scoop needs washing.

Start Turning Your Own Set
Once you dial in your proportions, each scoop takes well under an hour to turn—making them ideal batch projects for craft fairs, holiday gifts, or upgrading your own kitchen canisters. Experiment with different bowl profiles, classic Victorian spindle shapes, and contrasting offcuts from your scrap bin, and see what combinations you come up with!

Featured posts