Turning a Premium Pizza Cutter
A beautiful, custom-made pizza cutter can be a fun and rewarding project. If you’re a woodturner looking for your next creation, a handmade pizza cutter is a great option. Using a high-quality kit, you can craft a stunning and durable handle that’s as unique as you are.
Choosing Your Blank
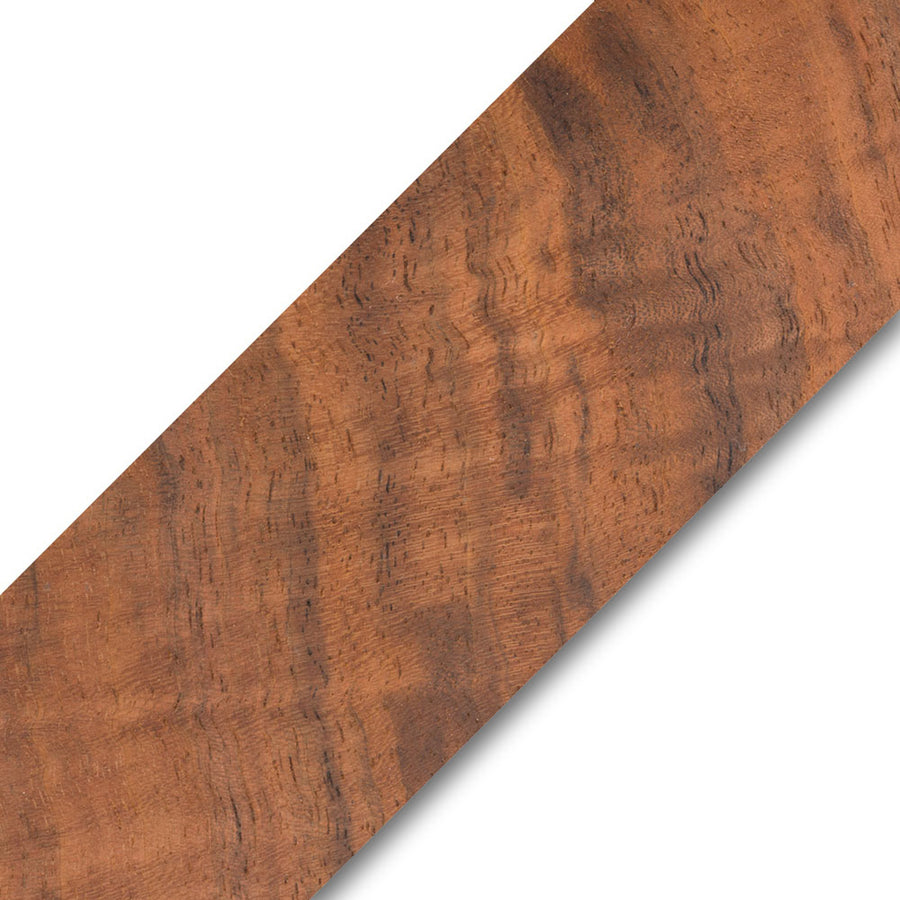
For a project like a pizza cutter handle, which will see frequent use and washing, choosing the right material is key. We recommend a stabilized wood blank for its enhanced durability and resistance to water. Stabilized wood is wood that has been impregnated with a plastic resin under pressure, making it incredibly dense, hard, and less likely to warp or crack. If stabilized wood isn’t an option, a dense, oily exotic wood like Desert Ironwood also works well. The natural oils help repel water, providing some protection against repeated washing.
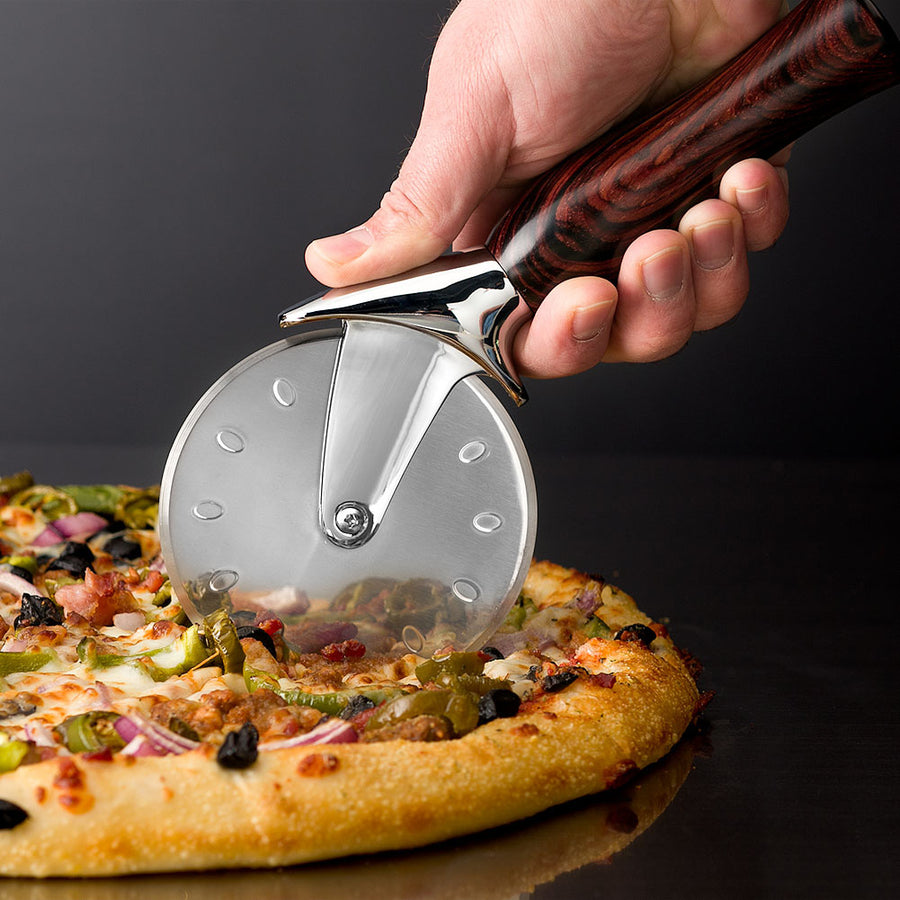
The Premium Pizza Cutter Kit features a 4” stainless steel blade. One of the best features of this kit is that the blade is removable, allowing you to easily wash the blade in a dishwasher while keeping the handle clean and dry by hand-washing it.
Turning Your Handle: Step-by-Step
1. Preparing the Blank and Drilling
Before you start turning, you need to prepare your blank. There are two options for securing the pizza cutter into the handle once it’s turned. Firstly, you can glue the threaded stud directly into the wood, which isn’t a bad option if the wood is stabilized or very dense. The other option is to use a stainless steel insert, with threads that are cut to fit the threads on the pizza cutter. This insert is a durable alternative to a simple threaded stud that is tapped directly into the wood. The threaded insert will be more resistant to wear and tear from repeated unscrewing of the handle.
To ensure a straight and accurate hole, it’s best to use a drill bit and a keyless chuck on your lathe. Use a skew or a similar tool to create a small dimple to guide the 7/16” drill bit and help it find its center. Keep your lathe speed to around 500 rpm and drill deep enough for the insert to seat properly, with an extra 1/8” or so for your adhesive. The threads on the pizza cutter are extra long, so you can either grind it down so that the insert is flush with the end of the blank, or drill a little deeper into the handle.
Glue in the insert with CA glue, then hit it with an activator to secure it.
2. Shaping and Refining
Now for the fun part: shaping your handle! The best method is to mount the blank onto a project mandrel for a very secure and true-running setup. While the bottle stopper (project) mandrel is great for many projects, it works perfectly for this pizza cutter handle. Bring up the tailstock for added support and turn the wood into your desired shape. A spindle roughing gouge is great for getting the blank to a rough round, and then a spindle gouge can be used to refine the curves. Remember to take light cuts, especially with stabilized wood, as it can be brittle and prone to chipping.
3. Adding the Finishing Touches
Once the basic shape is complete, you can add decorative elements like a bead using a carbide beading cutter. We recommend adding these details after your initial sanding to preserve their crispness.
After creating the bead, sand your piece to a smooth finish, starting with a coarse grit (like 240) and working your way up to a fine grit (like 400). Sanding with the lathe off can help remove any radial scratches that might be left from sanding at high speeds.
Finishing Your Pizza Cutter Handle
1. Prepping for Finish
Before applying a finish, use denatured alcohol to wipe down the surface of your handle. This removes any dust, oils, or debris that could prevent your finish from adhering properly. It also helps reveal the beautiful, natural color and figure of the wood.
2. Applying the Finish
A spray lacquer is a great choice - it creates a high-gloss, durable finish. When applying, use a respirator and work in a well-ventilated area. Hold the can about six to ten inches away from the blank and apply light, even coats while rotating the handle. Three to four coats, applied in an open area or outdoors, create a durable finish.
3. Buffing and Polishing
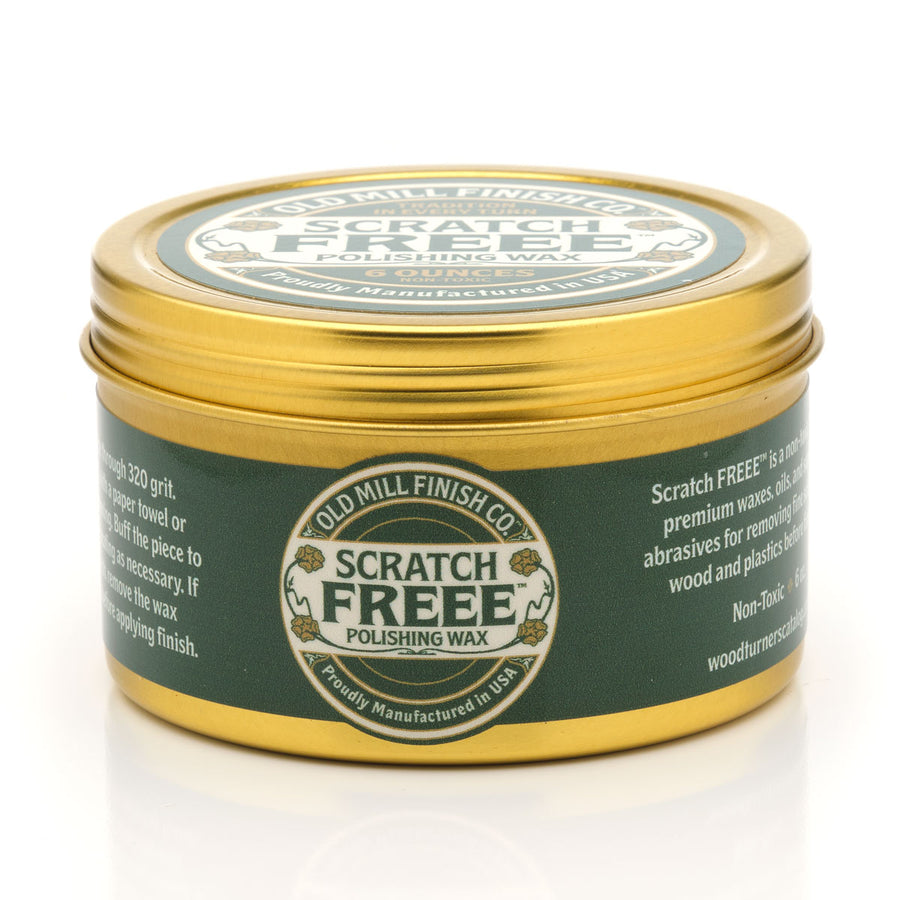
Once the lacquer is fully cured, you can buff the surface to achieve an even higher gloss. Mike uses a microfiber abrasive to polish the lacquer, which smooths out any minor imperfections or dust particles that may have settled on the surface. Apply a small amount of the polish to a rag and, with the lathe spinning at a high speed, gently rub it onto the surface. This generates a bit of heat, which helps activate the wax in the polish and melts it for a smoother, more durable finish.
With the handle buffed to a brilliant shine, you can remove it from the mandrel and screw it onto your pizza cutter hardware. The result is a beautiful, custom-made kitchen tool that’s as functional as it is stunning!
