Turning a Torpedo Bat: Make a Custom Baseball Bat
This blog post will guide you through the process of turning a torpedo bat, drawing from the techniques and tips shared in our companion video. A torpedo bat is characterized by its sweet spot being closer to the handle and a slight taper at the end, differing from the constant diameter of a standard bat barrel.
Blank Selection and Preparation
- Professional bats are often made from ash, birch, or maple. For this guide, we’ll be using a kiln-dried maple baseball bat blank.
- Pre-cut the blank to the desired length. For a 33” finished bat, cut the blank to 33-1/4” to allow for a nub that will be cut off.
- Adjust the bat size based on your height, dimensions, and weight, and for the league in which the bat will be used. Online bat size calculators can help determine the right size.
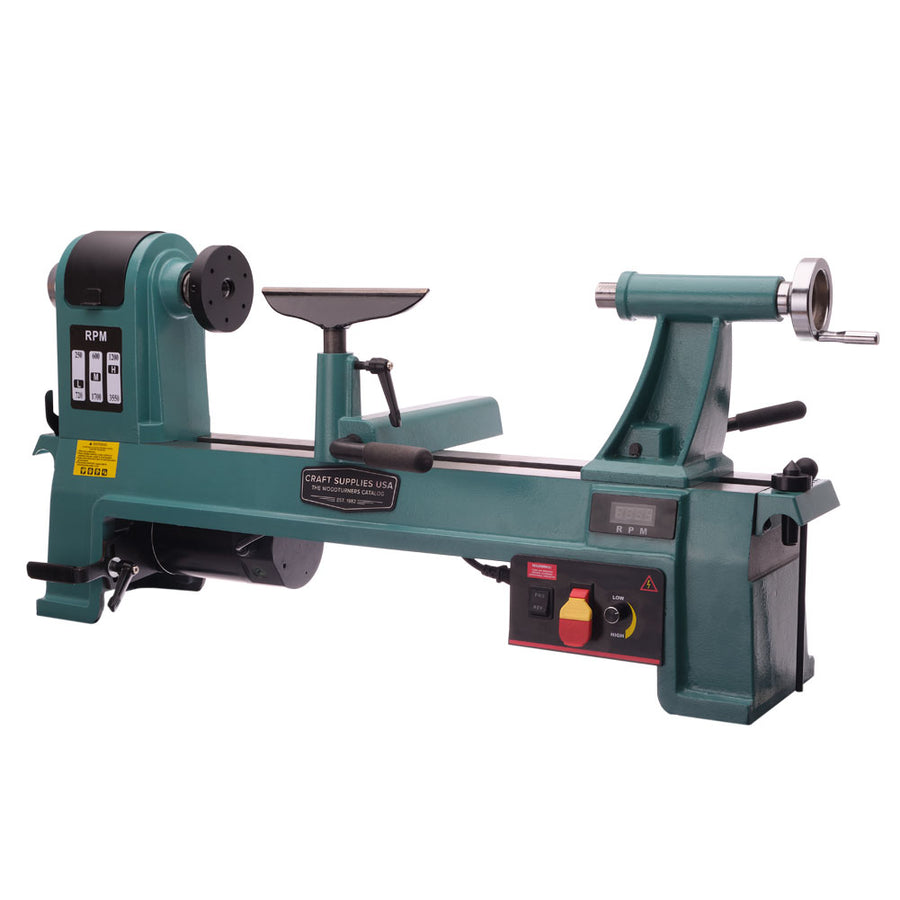
Lathe Setup and Mounting
- Mark the centers on each end of the blank precisely. The overall diameter of the bat is only slightly larger than the finished diameter, so accurate centering is crucial.
- Mount the blank between centers on the lathe.
- Set up the tool rest for the spindle roughing gouge to be at the center working height.
- Ensure the tail stock has enough tension to secure the piece for turning, but not so much that it causes flexing, especially as the grip section narrows. You may need to adjust it occasionally throughout the process.
- For longer bats, the headstock and tailstock might need to be positioned towards the ends of the bedways. Make sure that you don’t extend either past the safety catches on your lathe.
Turning the Barrel
- Begin by roughing the barrel to the desired overall diameter. For a torpedo bat, aim for around 2.5”. The maximum barrel diameter for an MLB bat is 2.61”.
- Set your turning speed to around 1800 to 2000 RPM.
- Use a spindle roughing gouge to true up the barrel. Keep the handle low and to your side and cut downhill when possible. Take light cuts!
- Check the diameter with calipers to ensure accuracy.
- Create the torpedo profile by tapering the barrel slightly towards the end.
Turning the Grip
- The grip section is typically 12” long, measured from a 1/2” knob at the end of the bat.
- The diameter of the grip should be between 1” and 1-1/8” inches, depending on whether you plan to wrap the grip or use pine tar.
- Use a spindle roughing gouge to remove the bulk of the material and establish the taper from the barrel down to the grip.
- Support the piece with your hand to minimize vibration as it gets thinner. Continue taking very light cuts.
Shaping the Knob
- Mark out a 1/2” section for the knob.
- Use a skew chisel to part down the material, providing space for a semi-circular bead. This is the perfect place for a peel cut.
- Shape the knob using the spindle roughing gouge. The amount of flare is based on personal preference.
Final Shaping and Smoothing
- Refine the curve between the grip and the barrel. If you have a bat that you like in hand, keep it close and compare it to the one you’re turning often - it is very helpful to get the shape just right.
- Ensure the grip diameter is consistent along its length.
- Make light, smooth, and controlled cuts for a better surface finish and less sanding.
Sanding
- For this much surface area, sheet abrasives make the most sense for the sanding process.
- Sand the bat, starting with 180-grit sandpaper to remove tool marks and imperfections. Keep the paper moving and use all parts of the paper. Occasionally flick off the built-up sanding dust to unclog the paper.
- Sand laterally across the blank with the lathe off to eliminate circular scratches.
- Progress to 220-grit and then 320-grit sandpaper.
- Maintain a sanding speed of 500 to 700 RPM.
- Wear a dust mask!
Dyeing the bat (Optional)
- Wipe down the bat to remove any dust.
- Apply an alcohol-based dye, such as Artisan Chocolate Dye, for a rich, dark brown color.
- Ensure even coverage across the entire piece.
- Allow the dye to dry. If using an alcohol based dye like the Artisan Premium Dyes, this will only take a couple of minutes.
Finishing
- Apply a spray lacquer in light, even coats, holding the can about 8-10” from the workpiece. Keep the can moving as you apply to prevent the lacquer from running. Multiple coats (4-5) may be needed.
- Allow the lacquer to cure for 24 hours.
- Wear a respirator during the spraying process.
Final Touches
- After the lacquer has cured, the bat is ready to use.
- Consider adding grip tape for comfort and control.
More from:
how-to
