How to Turn a Witch Block Head for Halloween
Get ready to turn some heads this spooky season! In this post, we’re diving into the process of creating Halloween-themed Blockheads, complete with custom decals and interchangeable hats. This project is a fantastic way to sharpen your woodturning skills while crafting some unique, festive decor.
In the video, we focus on the Witch Blockhead, but we also showcase other Halloween Emoji Decals like a Pumpkin, Frankenstein, a Ghost, and a Skeleton head. Each blockhead starts with the same basic turned shape, but the possibilities for customization are endless!
Turning the Block Head (The Witch)
The core of the project is a standard block head, turned from a 3”×3”×4” to 5” block of dry maple. The key steps ensure a sturdy and symmetrical base for your decal.
- Start by mounting the blank between centers and using a spindle roughing gouge to get it true and round.
- Creating a Tenon: Use a skew to form a tenon on one end. This allows you to mount the piece in your chuck, which is essential for the next step.
- Once in the chuck, use a 1-1/2” forstner bit (or a size suitable for your pin jaws) to drill a hole in the bottom. This removes material to lighten the piece and provides a recess for pin jaws or a jamb chuck later on.
- Define the bottom with a small step (about 2-1/16” diameter by just under 1/4” long) using a peel cut with a skew. Then, use a spindle gouge to create a nice, smooth half-round radius and a slight concave curve on the base for a refined look.
- After ensuring the bottom surface is clean and smooth, apply a sanding sealer. This acts like a primer for the later spray paint, ensuring a uniform and consistent color application, especially over the end grain.
- Important Note: Ensure the bottom of the head is slightly concave so it doesn’t rock when placed on a flat surface.
- Important Note: Ensure the bottom of the head is slightly concave so it doesn’t rock when placed on a flat surface.
- Mark the final body height (about 3-1/4“) and use a narrow parting tool, taking light cuts to avoid binding, to separate the piece from the blank.
- Re-chuck the body using pin jaws (like the VM100 extended pin jaws). This allows you to turn the top of the head. Use a spindle roughing gouge to create a straight body, and then switch to the spindle gouge to turn the final, smooth radius for the head’s top. Sand and seal this side as well.
- Once the head is finished, apply a coat of spray paint in a well-ventilated area or outside. We found that Rust-Oleum’s Key Lime was a great color for the witch.
Turning the Witch’s Hat
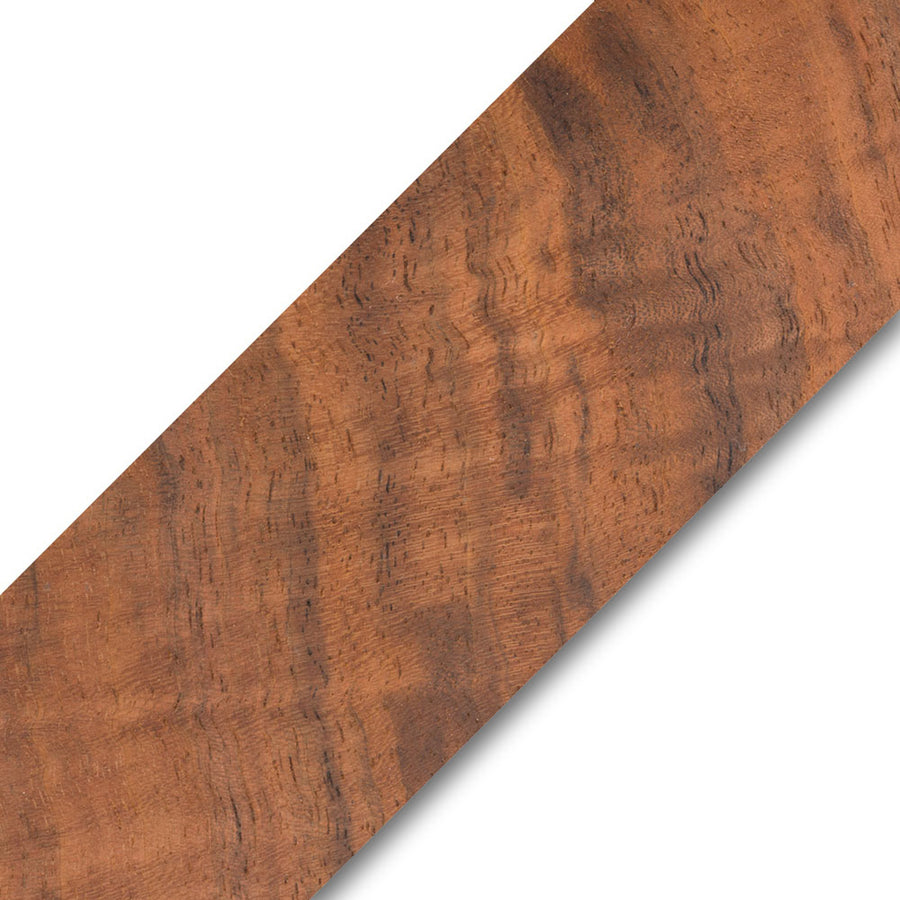
The hat is where you can really add character. For the witch’s hat, a piece of maple burl was chosen for its unique defects, knots, and swirling grain—perfect for a “weathered” look!
- Mount the rough hat blank between centers. Use a bowl gouge to carefully take it to round, standing off to the side as you work with any pieces that have bark or knots.
- Turn a tenon on the brim-end so you can chuck the piece.
- Clean up the bottom surface of the hat until it’s perfectly flat. This is crucial for drilling! Use a 1-7/8” Forstner bit to drill the recess that will fit onto the head’s tenon. The recess was drilled slightly deep (about 3/8“) to allow for a slight undercut with the skew, which helps the hat sit down on the head.
- Re-chuck the hat, this time using the recess on the pin jaws, with the tail stock for support. Start shaping the top into the classic tapered cone.
- Vary the cutting angle and bevel direction as you turn to give the hat a wavy, non-uniform profile, making it look more like a crumpled, used hat.
- Incorporate a decorative detail band at the brim’s base using a V-groove and a spindle gouge.
- As you reach the final point, lighten the tail stock pressure to prevent the material from splitting.
- Vary the cutting angle and bevel direction as you turn to give the hat a wavy, non-uniform profile, making it look more like a crumpled, used hat.
- To achieve a weathered, aged look (like a felt hat), the hat was taken outside and torched with a blowtorch. This slight charring of the maple burl enhances the grain and gives it a unique patina.
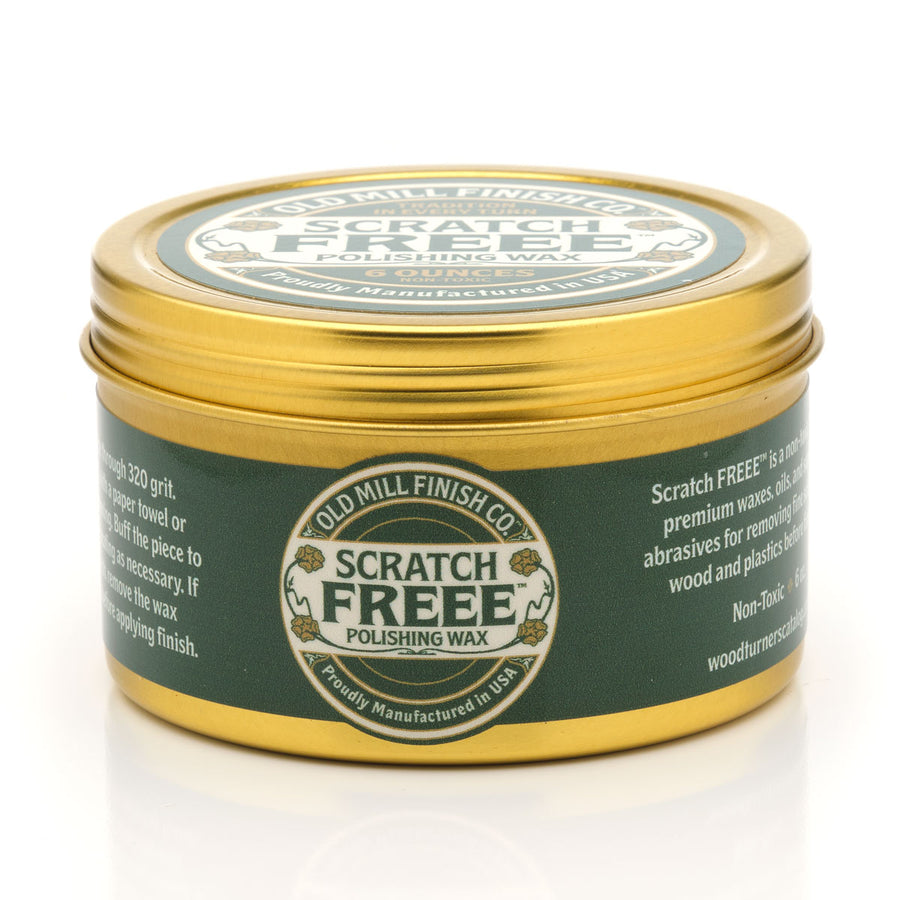
- Apply Scratch Freee finish to darken the torched wood and make the burl figure really pop.
Finishing Touches: Decals and Assembly
The final step is to bring your witch to life with Halloween Emoji Decals.
- Ensure the paint is completely cured and dry (usually 24 hours).
- Carefully peel the decal off the backing, using the transfer tape to keep the design aligned.
- Center the decal on the painted body.
- Rub down the decal firmly to ensure it adheres and to work out any air bubbles.
- Slowly and carefully peel off the transfer tape, rubbing down any part of the decal that tries to lift.
- Place the finished hat on the head.
The result is a fantastic, custom-made Witch Blockhead ready for the spooky season! This technique is easily adapted for the pumpkin, ghost, and other decals, offering endless ways to personalize your Halloween decor. Happy turning!
