


M3 Blanks: Step-by-Step Guide & Turning Tips
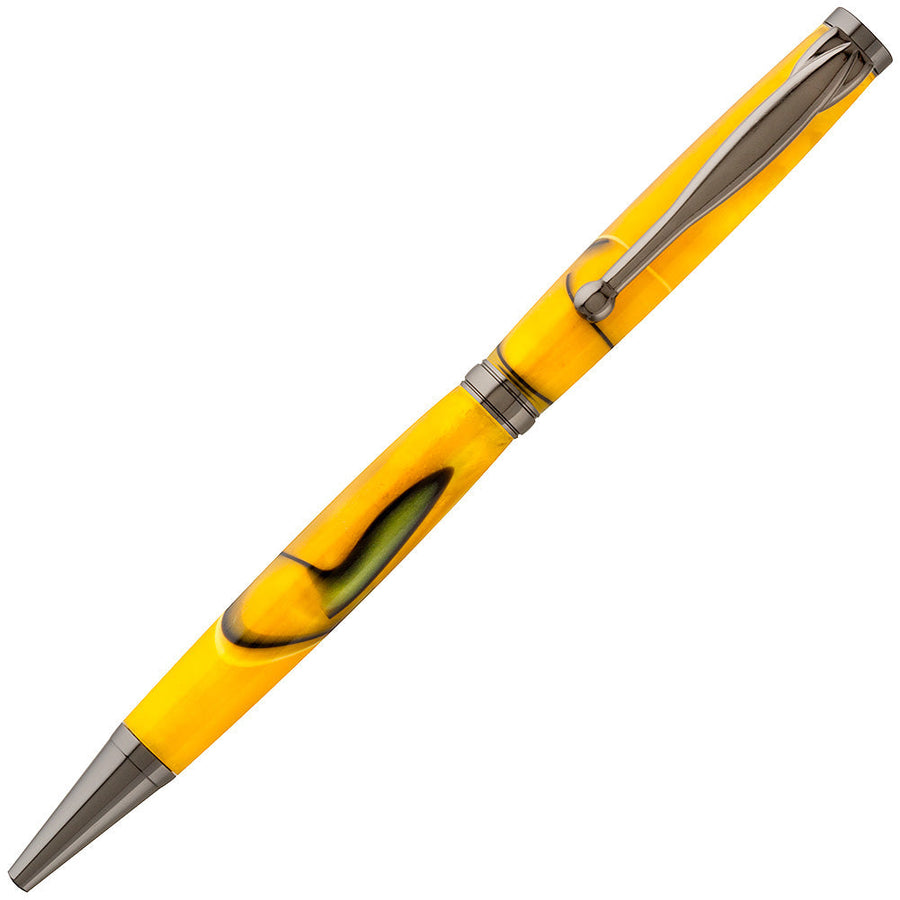
If you’re looking to elevate your pen turning with a truly premium material, M3 Diamondcast blanks deserve a spot at your lathe.
M3 stands for Macro Molecular Metal, meaning these blanks actually contain real pulverized metal particles bonded into a high-performance resin formula. Originally created by Mike Hogan, the manufacturing rights were acquired by Tim McKenzie of DiamondCast. Tim improved the original formula with a stronger resin bonder, making today’s M3 blanks less tricky to turn while delivering a striking, durable, high-gloss finish.
Step 1: Marking, Rounding, and Chuck Mounting
Because M3 blanks contain real metal, getting a precise, concentric hold before drilling is key to avoiding eccentric gaps around your brass tube.
- Measure your kit’s brass tube against the blank. Mark the length with a Sharpie, leaving about an extra 1/8” to account for any edge chip-outs during drilling or parting.

- Secure the blank in your scroll chuck using extended pen jaws. Bring up your live tailstock center for support.
- If the raw square blank doesn’t sit evenly in the chuck jaws, round the exterior profile off first using a carbide insert tool like the Easy Wood Finisher.
- Once rounded, flip the blank around in the chuck jaws so the jaws grip a uniform, round surface. This ensures maximum gripping power and drilling accuracy.
Step 2: Squaring the End and Drilling
- Use a skew or scraper to square up the front face of the blank, creating a very slight concave face with a small dimple at the exact center point.
- Insert your 27/64” drill bit into a keyless chuck mounted in your tailstock.
- Leave the tailstock locking lever disengaged slightly as the tip of the bit enters the dimple. Allow the brad point to find its natural center before locking the tailstock down.
- Drill at a moderate speed. Tip: Use a sharp bit and clear chips frequently to avoid overheating the resin. Overheating can make resin brittle or distort the internal bond.

- Once drilled to depth, use a parting tool to separate your pen section from the remaining blank stock.
Step 3: Tube Preparation and Gluing
- Use 240-grit sandpaper to thoroughly scuff the exterior of the brass tube. This gives the adhesive a mechanical bite.
- Choose Your Adhesive:
- Epoxy: Ideal if you’re making multiple pens and need extended working time.
-
Thick CA: Excellent for speed.
- Epoxy: Ideal if you’re making multiple pens and need extended working time.
- Apply adhesive inside the blank and on the tube using a whip tip to ensure 100% coverage. Press the tube all the way into the blank, rotating slightly to eliminate air pockets. Clean off any squeeze-out inside the tube immediately.

Step 4: Barrel Trimming on the Lathe
Instead of using a traditional handheld barrel trimmer (which can catch or dull quickly on metal resin), you can trim and square your blank right in the chuck:
- Mount the glued blank back in your extended pin jaws.
- Elevate your tool rest handle so your carbide cutter sits in a trailing position (above center).
- Lightly trim the face back until the brass tube is just exposed and perfectly square to the axis of the blank. Repeat for both ends.

Step 5: Turning Between Centers
Using Beaufort Ink’s Turn-Between-Center bushings allows you to turn off a 60-degree drive center and revolving tailstock center, eliminating mandrel flex and ensuring a perfectly concentric turn.
- Tailstock Pressure: Tighten the tailstock until just snug. Excessive pressure can crush or deform the brass tube.
- Roughing Down: Use a carbide tool to turn the blank down toward the bushing diameter.
-
Note: M3 blanks contain real metal and dull cutting tools faster than standard acrylics. Keep your carbide cutters rotated to fresh edges.
- Maintain high lathe speed (approx. 3,000 RPM) for clean cuts.

-
Note: M3 blanks contain real metal and dull cutting tools faster than standard acrylics. Keep your carbide cutters rotated to fresh edges.
- Refining the Shape: For a subtle convex shape, shear-scrape by holding your carbide cutter or skew at a 45-degree angle to leave a smooth, ridge-free surface.
Step 6: Wet Sanding & 2-Step Polishing
Because M3 contains metal dust, wet sanding is strongly recommended to keep heat down and trap dust particles.
- Coarse Sanding (240 to 600 Grit):
- Dampen your sandpaper with water.
- Sand through 240, 320, 400, and 600 grit.
- Stop the lathe between grits to wipe down slurry and sand laterally along the length of the blank to remove radial scratch lines.
- Dampen your sandpaper with water.
- Move to 1500 and 2500 grit Mirlon non-woven pads to bring out a smooth semi-gloss.

- Apply M3 2-Step Polish:
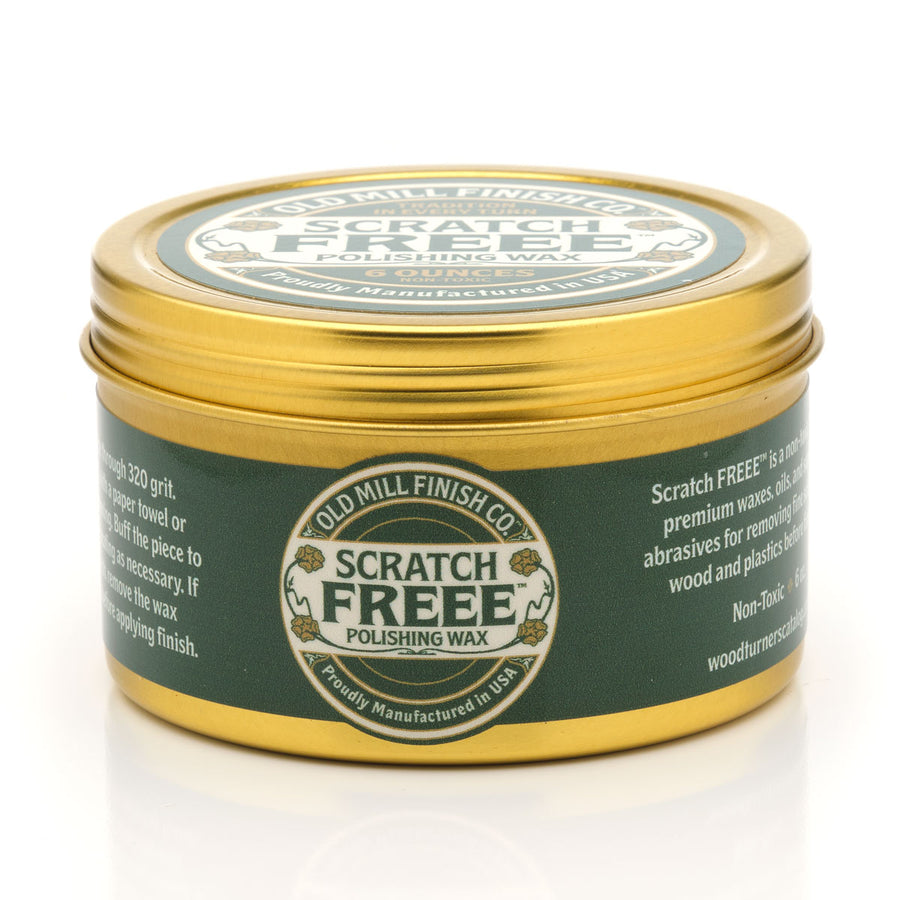
- Step 1 Polish: Apply a small dab to a clean paper towel. Buff at roughly 1,600 RPM using light friction to pull out micro-scratches. Wipe clean.
- Step 2 Polish: Apply the final step paste and buff to a deep, ultra-high-gloss sheen.
- Step 1 Polish: Apply a small dab to a clean paper towel. Buff at roughly 1,600 RPM using light friction to pull out micro-scratches. Wipe clean.
(No CA finish is required on M3 blanks—the polished material itself delivers a stunning glass-like shine!)

Step 7: Assembly
- Review the swirled metal pattern on your polished blank and choose which side you want facing up under the pen clip.
- Use a dedicated pen press to seat the writing nib assembly into the front of the blank, then press the cap/clip assembly into the rear.

- Insert the ink refill, spring, and thread in the twist mechanism. Test the twist action several times to ensure smooth operation before snapping on the final cap.
Final Thoughts
Turning M3 Diamondcast blanks requires sharp tools and attention to heat management, but the final result is well worth the extra care. The combination of real metallic luster, rich color blending, and incredible durability creates a heirloom-quality pen you’ll be proud to daily carry or gift.
Have you turned M3 blanks before? Let us know your favorite color combinations in the comments below!

Featured posts