Turning a Bat House Ornament with Mike Nish
Get ready for the spooky season with a wood-turned Bat House Ornament! This project is a fun, Halloween-inspired twist on the popular classic birdhouse ornament, perfect for honing your small-scale turning skills and experimenting with color and shape.
The Bat House Ornament design leans into a spooky aesthetic with a few key features:
- The upper piece is shaped to resemble a classic witch’s hat.
- The main body has a distinct, often tapered or curved, Gothic style.
- The finished piece uses a striking color combination, typically a brightly dyed orange maple body and a black top and finials.
Turning the Bat House Body
The body forms the main “canvas” for the ornament, requiring hollowing, shaping, and precise drilling for assembly.
Initial Turning and Hollowing
- Start with the body blank. Turn it to round and create a dovetail tenon on the headstock end for secure mounting in your four-jaw chuck. This is critical as most of the turning will be unsupported by the tailstock.
- Use a keyless chuck and a 1/2” drill bit to bore a hole about 3/4” to 1” deep to lighten the body. Follow up with a custom-ground scraper (like a birdhouse ornament scraper) to open up and hollow out more of the material, especially in the wider sections, to ensure the final ornament isn’t too heavy.
- Shape the exterior of the body, giving it the desired Gothic taper. On the headstock end, turn a small, straight tenon (about 1/8” inch tall) that will interface with the recess in the hat.
Reverse Chucking and Final Details
- Part the body off the lathe. Use the remaining material to turn a jam chuck with a tenon that provides a snug, but not too tight, fit into the body’s hollowed end. A “crunching” sound when mounting indicates a good, tight hold for unsupported turning.
- Mount the body on the jam chuck and support it with the revolving center. Finish shaping the bottom of the body. Drill a 1/4” hole all the way through for the bottom finial.
- Use a hand drill or keyless chuck on the lathe to drill two holes on the side:
- A 1/4” hole for the main bat entrance.
- A 3/16” hole for the perch.
-
Tip: Use a brad point bit for better centering on a rounded surface.
- A 1/4” hole for the main bat entrance.
- Sanding: Sand the body through at least 400 grit for a clean surface, being extra careful around any drilled holes or sharp transition lines. You don’t want to soften any of your hard-earned lines.
Coloring the Body (Dye Application)
The body is dyed a vibrant color to give it that Halloween pop.
- An alcohol-based dye is preferred, as it dries quickly and doesn’t raise the wood grain like water-based dyes.
- Apply the dye using a paper towel or rag, ensuring full saturation, especially on the end grain, which absorbs dye deeper.
- Post-Dye Buffing: Turn the lathe on at a low speed and use a dry section of cloth to friction-dry and buff the surface, which helps set the color and utilizes the shellac/friction polish often included in these dyes.
- Note: The dye will emphasize any tear-out or imperfections, so proper surface preparation is vital.
Turning and Coloring the Witch’s Hat Top
The hat adds the signature spooky profile to the ornament.
- Mount the hat blank, turn it to round, and cut a dovetail tenon for the chuck.
- Mount the tenon in the chuck. Clean up the underside of the hat, creating a slight concave surface. Then, cut a recess with your skew or spindle gouge to perfectly fit the tenon on the body. An undercut on the hat’s brim where it meets the body is essential for a sharp, clean joint.
- Use a spindle gouge to turn the hat to its tapered witch’s hat shape. Support with the tailstock (using a small dimple for registration) is highly recommended for stability, as the piece gets thin.
- Sanding and Parting: Sand the underside of the brim and the main hat before the top becomes too thin. Once sanded, part the hat off using a nano parting tool to conserve material.
Black Dye Application
- Remount the hat top on a small tenon. Sand the top surface clean. Drill a 1/64” hole for the eyelet screw.
- Apply black dye to the hat. Apply it generously to the end grain of the brim, where it will penetrate deep. You can thin the dye with alcohol if you prefer a less opaque, tinted look that shows more grain.
- Buff the hat dry to set the color and remove excess dye.
Turning the Finials and Perch
These small, delicate components are typically turned from blackwood for strength and high contrast.
- For both pieces, start by turning a 1/4” tenon on the tailstock end to fit the holes in the body.
- For the bottom finial, turn a delicate shape, like a small bead or cove profile. The final diameter should be thin (around 1/16” at the tip) for a delicate look.
- The perch is usually a thin rod with a long taper and a half-round end, allowing the turner to adjust how far it extends from the body.
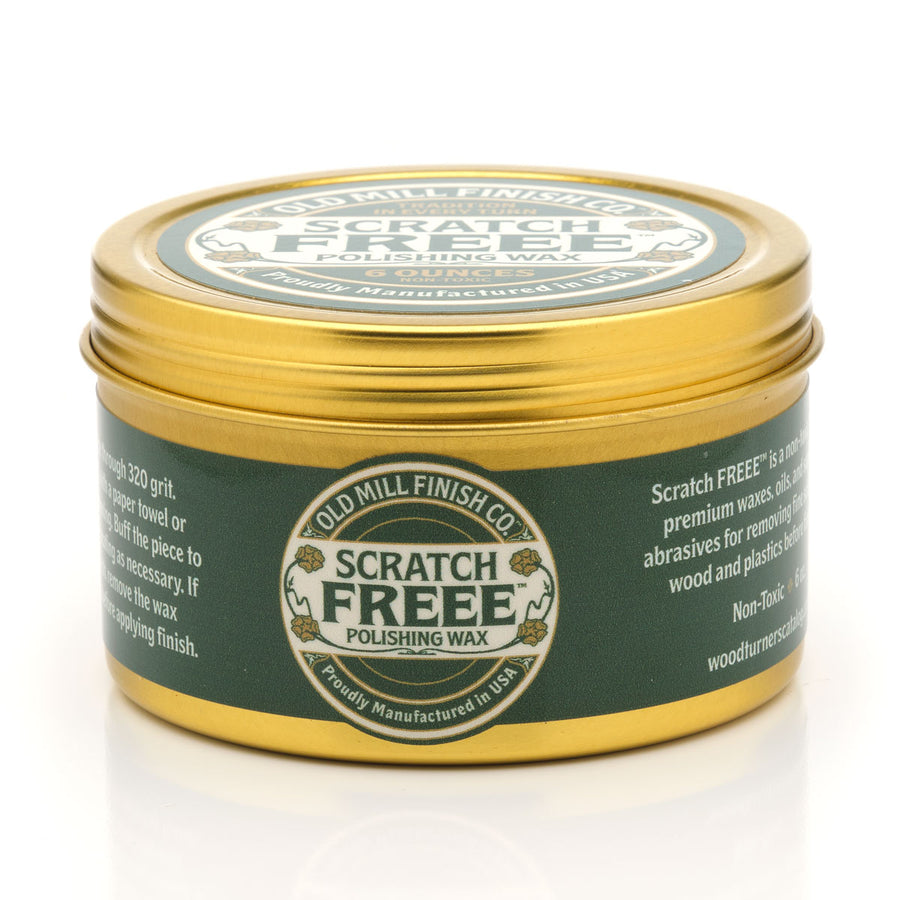
- Due to the small size and chatter, sand gently. Blackwood polishes easily off the tool; follow up with a polish like Scratch Freee and then denatured alcohol to strip the waxes/oils before the final lacquer.
Final Assembly and Finishing
Gluing
Use a fine-tipped applicator like GluBoost Whip Tips for the glue to keep the exterior clean:
- Glue the perch and bottom finial into their respective holes using CA glue and activator.
- Apply CA glue inside the hat’s recess, spray activator on the body’s tenon, and press the hat onto the body firmly.
Spray Lacquer Finish
- To easily apply finish, screw a drill bit into the eyelet screw hole and hold it in a keyless chuck.
- Use a spray lacquer like Lac R’ Shot! The main tip is to maintain a distance of 8” to 10” and apply a series of light, dusting coats initially, followed by slightly heavier coats. This prevents drips and runs while building a high-gloss finish.
Finishing Touches
- Once the lacquer is cured, glue the eyelet screw into the top hole with a drop of CA glue.
- Attach the 3D-printed Miniature Bat to the perch by applying a small dab of CA glue to the perch, spraying activator on the bat, and holding it in place until cured.
The contrast of the bright, figured orange body against the black Gothic hat and finials, adorned with a little bat, makes for a perfect Halloween decoration! 🎃
