Turning a Lidded Box with Matt Monaco
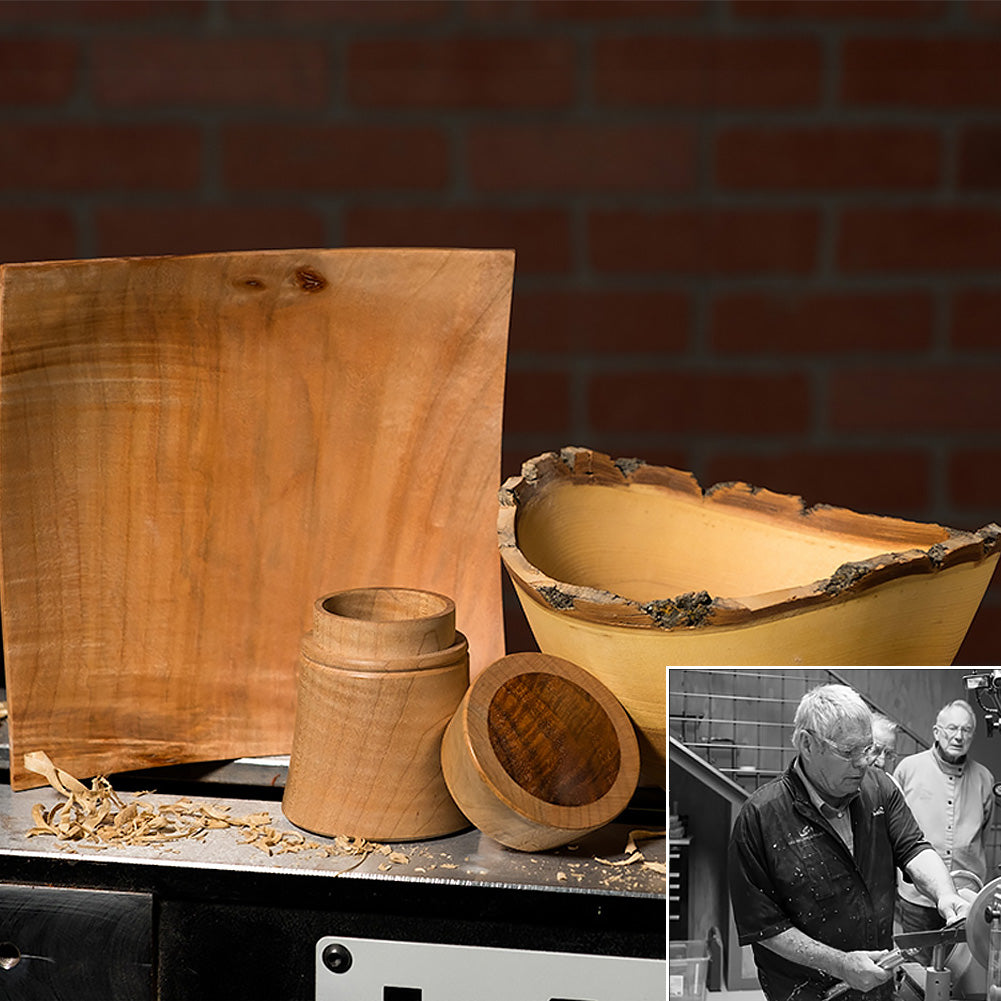
Woodturning a small, intricate box requires precision, patience, and a deep understanding of your tools. In this video and companion article, Matt Monaco takes us through the creation of a stunning end-grain box made from figured Ambrosia Maple. The process highlights the versatility and finesse of the skew chisel, transforming a simple block into an elegant, heirloom-quality lidded box with a captive ring on the finial.
Initial Setup and Truing the Blank
Start this project with a block of figured Ambrosia Maple, or any hardwood turning blank you have available.
- Mark the end-grain with an ‘X’ to identify the center on both sides and mount the blank between centers.
- Run your lathe at a higher speed, ideally 1800 to 2000 RPM. High speed is critical for achieving clean cuts when working with end-grain.
- Use a large skew chisel (e.g., 1-3/8”) for roughing the blank. This size provides better bevel support for control.
- Turn to round using a planing cut
- Set the supported cutting edge of the skew slightly above the center line (about 3/4 toward the top of the blank).
- Begin your cut slightly off-center near the end of the blank. Allow the cut to drift out into space rather than ending at the center. This prevents tear-out.
- Maintain light pressure, keeping most of the support against the tool rest.
- Set the supported cutting edge of the skew slightly above the center line (about 3/4 toward the top of the blank).
- Clean up the ends of the cylinder to easily read the grain for splits.
- Use a peeling cut (cutting across the grain) to remove longer fibers.
- Chamfer the corners (cut a V-groove) to establish a clean point of entry for subsequent cuts.
- Use a peeling cut (cutting across the grain) to remove longer fibers.
Dividing the Blank and Preparing for Chucking
Once you have a true cylinder, you need to prepare the piece for work in a chuck.
- Determine your preferred orientation and visually divide the blank. Mark both sections as “Lid” and “Base.”
- Use the long point of the skew to cut the tenons on both ends.
- Hold the skew straight and move directly into the wood, slightly rotating the tool in the corner to create a clean shoulder.
- Chamfer the sharp corners of the tenons for safety and easier mounting.
- Hold the skew straight and move directly into the wood, slightly rotating the tool in the corner to create a clean shoulder.
- Use a thin parting tool to separate the lid and base.
Hollowing the Lid and Achieving a Burnished Interior
You will now focus on the lid, ensuring the interior is precise and finished directly off the tool.
- Secure the lid blank in the chuck. True up the exterior once more.
- Create the rim’s interior to be perfectly straight at a 1/4” wall thickness. This area must be square and true for a secure fit.
- Use a shallow-fluted spindle gouge that has been sharpened with a fine, thin micro-bevel at the nose.
- Set the lathe at high speed (approx 2100 RPM).
- Perform a plunge-hollowing cut (the “incorrect” cut for end-grain) by starting at the 2 or 3 o’clock position and rolling the bevel inward. This technique, made possible by the micro-bevel and high speed, will burnish the interior, eliminating tear-out.
- Set the lathe at high speed (approx 2100 RPM).
- Continue hollowing to your initial and then final depth lines, maintaining a healthy wall thickness, especially if the wood is spalted.
Shaping the Finial and Cutting the Captive Ring
This is the most delicate stage, requiring finesse and light pressure with the skew.
- Use a spindle gouge to perform bead-rolling and cove-sweeping cuts to create the initial exterior profile and remove bulk material.
- Switch to a smaller skew (e.g., 1/2”) for fine detail.
- Use the short point of the skew to round a bead on the finial stem.
- Use the long point of the skew to carefully cut the material underneath the bead, creating a cove that isolates the ring.
- Use the short point of the skew to round a bead on the finial stem.
- If your hold feels insufficient for the final thin cuts, lock the spindle, then wrap a single ply of paper towel around the tenon and tighten the chuck again. This trick ensures a more secure grip, allowing you to finish separating the ring.
- Once the ring is loose, complete the final shape of the finial stem and finial top, using light, controlled shear cuts with the gouge or skew.
Finishing the Base and Achieving the Fit
Now, complete the base, focusing on achieving the perfect joint with the lid.
- Re-true the base blank after remounting.
- Use dividers to measure the interior diameter of the lid. Transfer this measurement to the base and cut a corresponding flange that is just proud of the lid’s interior. This ensures a tight overfit.
- Use the same high-speed hollowing technique you used on the lid for a burnished interior.
- Test the lid on the base repeatedly, making fine adjustments to the flange thickness until you achieve a suction fit, the lid should pop off with a slight wrist movement.
- With the lid attached, visually assess the overall form. Use the skew’s convex sweep to plan the exterior of the base, creating a subtle bead or foot at the bottom.
- Use a jam chuck to hold the base while you shape the bottom. Create a slightly concave foot with a V-groove at the center.
This finished Ambrosia Maple box is a testament to the fact that a high-quality finish doesn’t always require sanding. The fine tool control and the high-speed burnishing of the wood’s tannins resulted in a waxy, lustrous surface—a piece that is complete and beautiful “straight off the tool.” It serves as a great demonstration that woodturning is a skill built on progress, not perfection, and a keen understanding of how to manage the challenges of working with highly figured wood.
